
Post-Christmas Day Ham and Cheese Quiche
This recipe was created in collaboration with Midwest Dairy. I was compensated for my time, but the content and opinions included are my own.

Wondering how you’re going to use up all that leftover ham from Christmas?? I think some people use it in black eyed peas for New Years (correct me if I’m wrong??), but I’ve got a better idea. A quiche! And not just any quiche, but a quiche filled with caramelized onions, savory sweet potatoes, and sharp cheese. (Oh, and don’t forget about that flakey, buttery crust).
Now, I’m a little confused about the difference between Thanksgiving food and Christmas food. Because with my family, we always have turkey with “all the sides” at Thanksgiving, but then we have turkey or ham with “all the sides” again at Christmas. Are the same foods traditional for both? Or is ham just an Easter food? Please set me straight and help me to understand here. My assumption for this recipe is that there WILL be ham served on Christmas day. But if not, just go out and buy a small package of ham for this recipe. And also grab a pre-made crust. Sure homemade crusts are delicious, BUT SO ARE PRE-MADE CRUSTS and they are so much easier. Do yourself a favor and simplify. There’s enough to think about with this holiday season.
I also recommend buying a variety of cheeses while you’re getting the ingredients for this. Not because it calls for a million different cheeses, but because your fridge is never well-stocked without cheeses for various situations. 😉 I used a sharp white cheddar for this quiche, but I think a hard, aged gouda would pair REALLY nicely as well. I attended an online “Cheeseboard chat” earlier this month with Midwest Dairy and they sent a variety of cheese for a cheese board tasting and sustainable nutrition discussion. They sent me an aged gouda with it and I’ve been pairing it with lots of various egg dishes or pasta and it’s simply delicious. Here are a few takeaways I had from the virtual chat with ACTUAL dairy farmers:


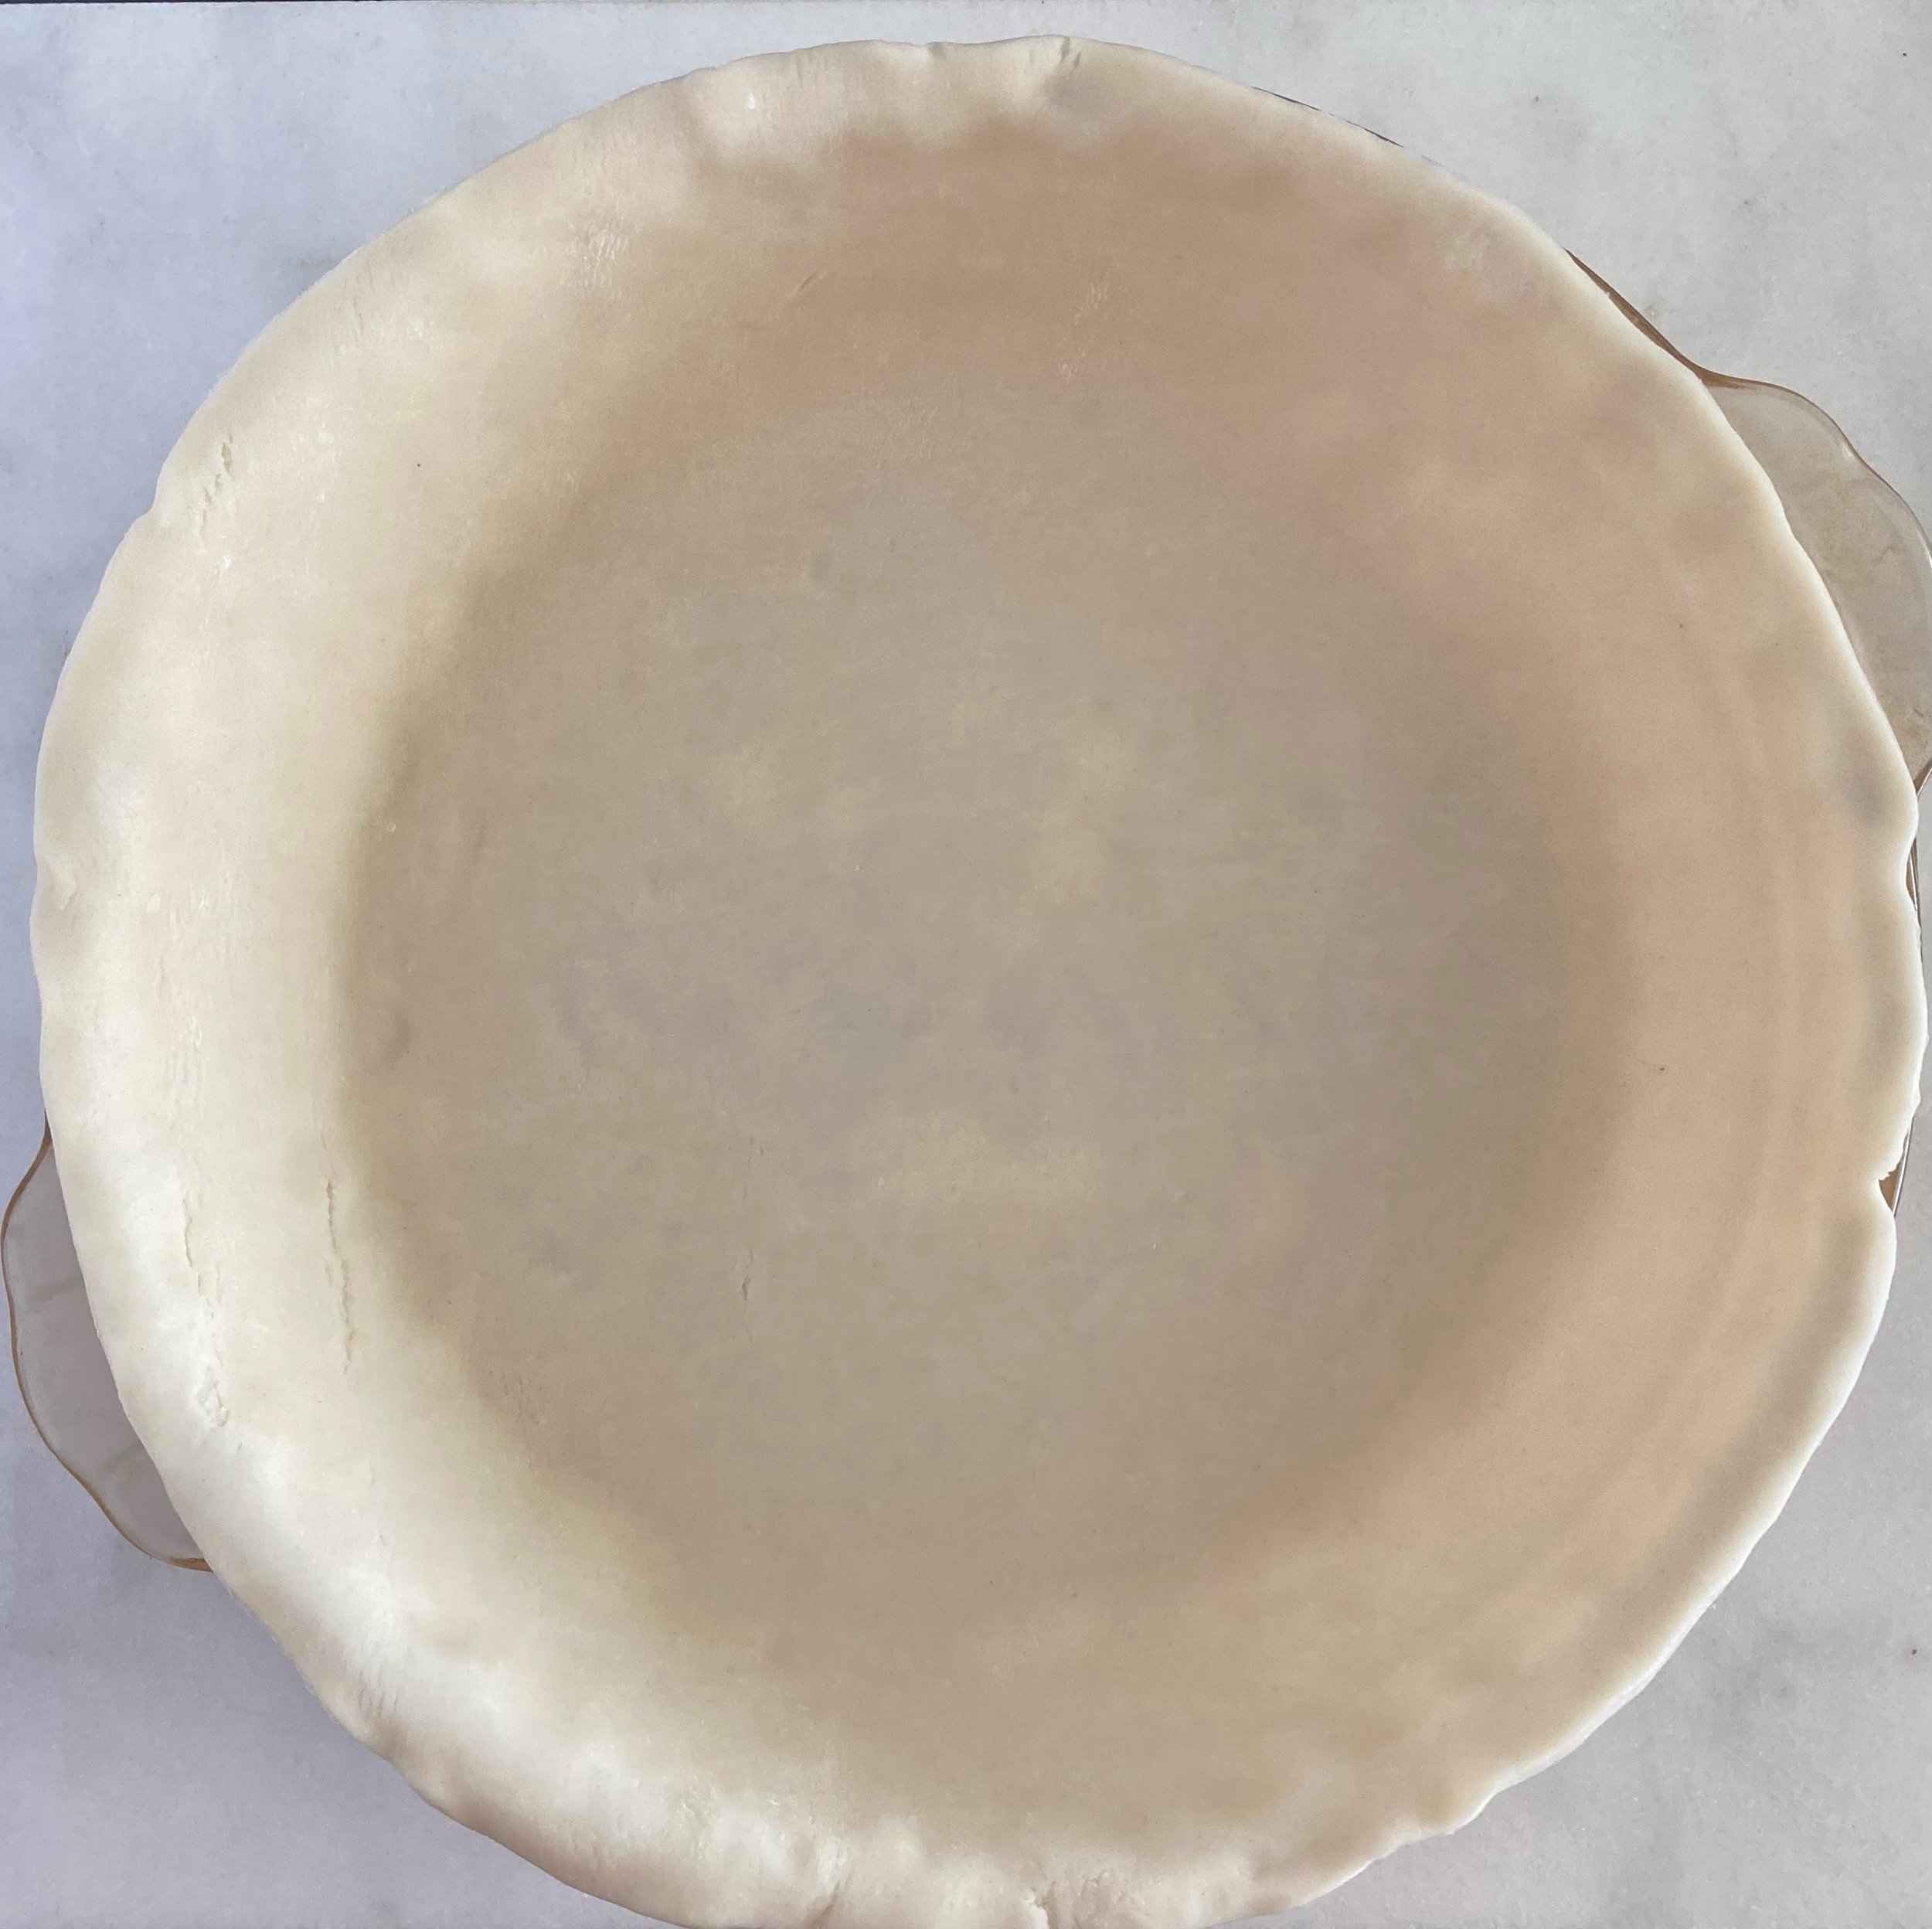
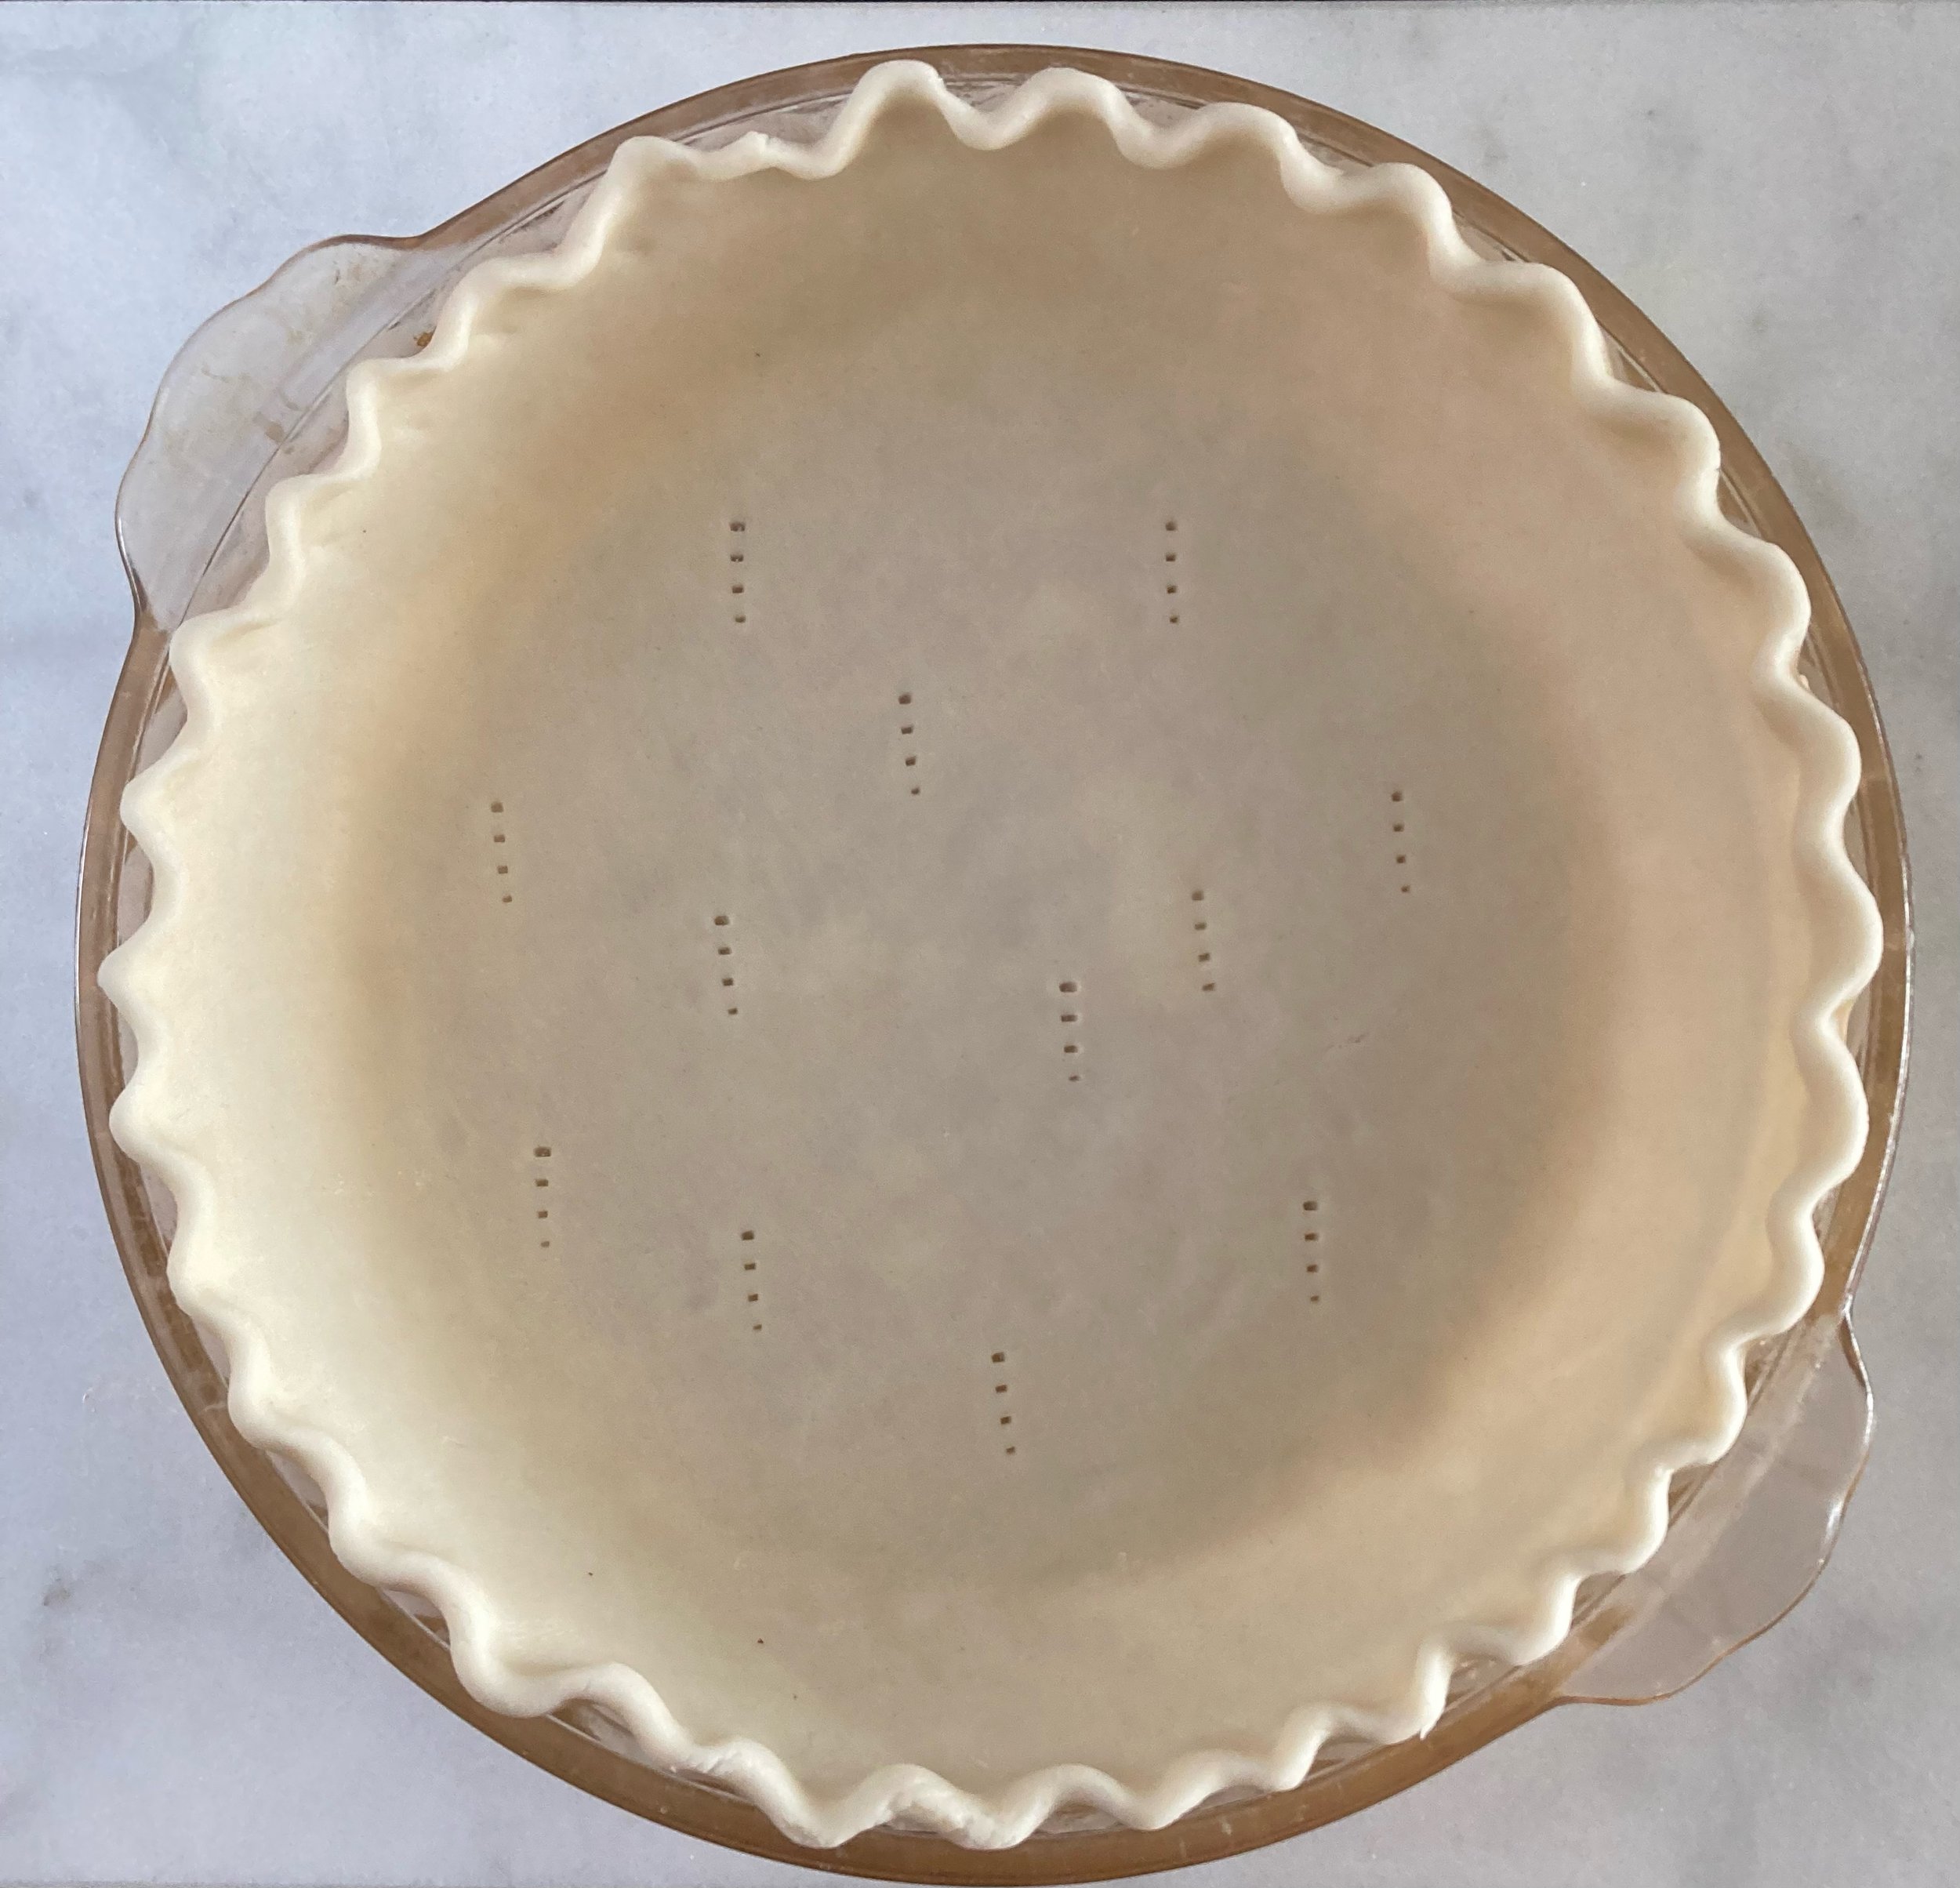
In making this recipe, I learned a few tips and tricks for baking pie crusts. I make quiches pretty regularly (we have an egg-based dish for dinner every week), but have never put in the time to learn how to properly bake a crust. Without fail, the crust sides would always fall down and fold on top of the center. I discovered that to avoid that, you can just put parchment paper and dried beans on top to help it stay in place and not “shrink”. I found this video helpful for learning various techniques for styling the crust. And I also learned that it’s super important to let the dough warm up enough to spread out without cracking or breaking. But regardless, you ultimately don’t need it to look pretty—just taste delicious. So even if you have a pie crust fiasco, rest assured you’ll still enjoy the final product.

A few other notes—I know cottage cheese is a strange ingredient, but I find that it increases the cheesy flavor and helps with the texture (a spongey quiche is not what we’re looking for here). It’s totally optional, but I always put it in my quiches. Also, I find it’s easier to distribute the fillings more equally if you put them into your crust and then pour the egg/milk mixture on top. There’s no right or wrong with that, but I just find it is easier to ensure equal distribution. ☺️ And lastly, I know quiches take awhile to prep and cook. My recommendation is to prep the ingredients the night before, that way all you have to do is put your filling in and bake!


I hope you enjoy it as much as I do. Have a Happy Holidays!

Post Christmas Ham and Cheese Quiche
Ingredients
- Pre-made pie crust
- 1 cup sweet potatoes, 1/2 inch cubes
- 1/2 onion
- 1/2-3/4 cup ham, chopped
- 5 eggs
- 3/4-1 cup cheese, shredded (I used a sharp white cheddar)
- 1/2 cup whole milk
- 1/3 cup cottage cheese
- 1/4 tsp garlic powder
- 1/4 tsp onion powder
- 1/2 Tbsp fresh rosemary, chopped
Instructions
- Preheat oven to 375 and take your crust out of the fridge.
- Thinly slice your onion and chop your sweet potatoes into medium bite sized pieces (1/2 inch cubes).
- Spray your pie pan with non-stick spray and roll out your crust into the dish. If you are having difficulty unrolling it, give it a few more minutes to come to room temperature. Shape the edges of the dough according to your preference (see video above). Poke bottom of the crust with a fork. Place a piece of parchment paper and dried beans on top (or pie weights) and bake for 12-14 minutes. Take out parchment paper and beans and bake again for another 2 minutes.
- While crust is baking, heat a pan to medium-low heat and add olive oil and thinly sliced onion. Cook, stirring often, for about 15 minutes or until onions are soft and caramelized. You may need to add 1 Tbsp water periodically to keep the onions from sticking or burning.
- In another pan, heat oil to medium and add cubed sweet potato along with garlic powder and onion powder. Cook until fork tender, about 10-15 minutes. Again, you may need to add water to prevent burning or sticking.
- Once crust and vegetables are cooked. Add vegetables, ham, and cheese to the crust. Scramble the eggs in a separate bowl and add the chopped rosemary and cottage cheese. Pour over the quiche filling and slightly move the pieces around to make sure the egg gets to the bottom. Bake uncovered for 40-50 minutes (or until set).

Mommy and Me Smoothie
This recipe was created in collaboration with Midwest Dairy. I was compensated for my time, but the content and opinions included are my own.
You guys!! How is my baby starting to eat solids already?! WHERE has the time gone? Surely I don’t have a 6+ month year old. 😮 But alas, I DO. We are in the process of introducing new foods to sweet Harlow girl and allowing her to explore new flavors and textures. Something I forgot about is ALLLLL the messes created in this season. I love how relatively clean Camden is eating at the table. His food stays on his plate and I rarely have to clean his hands or face afterwards. There is just SO much cleaning that now has to be done—cleaning the high chair table, cleaning the bibs, washing out the rags we use to clean food off of her, and increased laundry with avocado and other food stains. 🥴 Woof.

With Camden, we used the baby led weaning process for introducing food to him. Pureed baby foods is a relatively new thing and before then, people were giving their babies the food they were eating. We liked how much cheaper and easier it was to be able to just give him the food we were eating (with a few modifications). It’s not for everyone, but we really liked it and how it encouraged independence and self-regulation with food.
One of the first foods I offered Camden was plain greek yogurt with peanut butter mixed in and have done the same with Harlow. Greek yogurt is a great source of protein and fat as well as key vitamins and minerals, so I feel like it has a great nutritional bang for its buck. And surprisingly, recommendations for introducing high allergenic foods like dairy, nuts, and shellfish have changed from waiting until after 1 years old (for dairy, later for other allergens) to introducing it earlier in order to prevent risk of developing an allergy (if you or your family has a history of allergies, these recommendations are a little different—so research this and ask your pediatrician before you start introducing those foods to your little ones. The purpose of this post is not on baby led weaning or allergies with babies).

In our current culture, there seems to be a lot of fear regarding giving our children dairy (or even ourselves!). If you have questions about the safety or nutrition of dairy, check out the Q&A I did last year on it. You can also check out the blog post here. Before having Camden, I did my own personal research on common concerns regarding dairy and feel VERY confident giving it to my children. Dairy isn’t a necessity, but I love how it packs a punch in terms of nutrition for a relatively low cost. And let’s be real, it’s just so stinking delicious. Recommendations are for babies to be at least one year old before introducing cow’s milk to drink (babies should be drinking formula or breastmilk until then), but other sources such as yogurt, cottage cheese, or cheese are recommended. Additionally, milk IN things is just fine—just not straight in a bottle or cup because of the low iron content in cow’s milk.

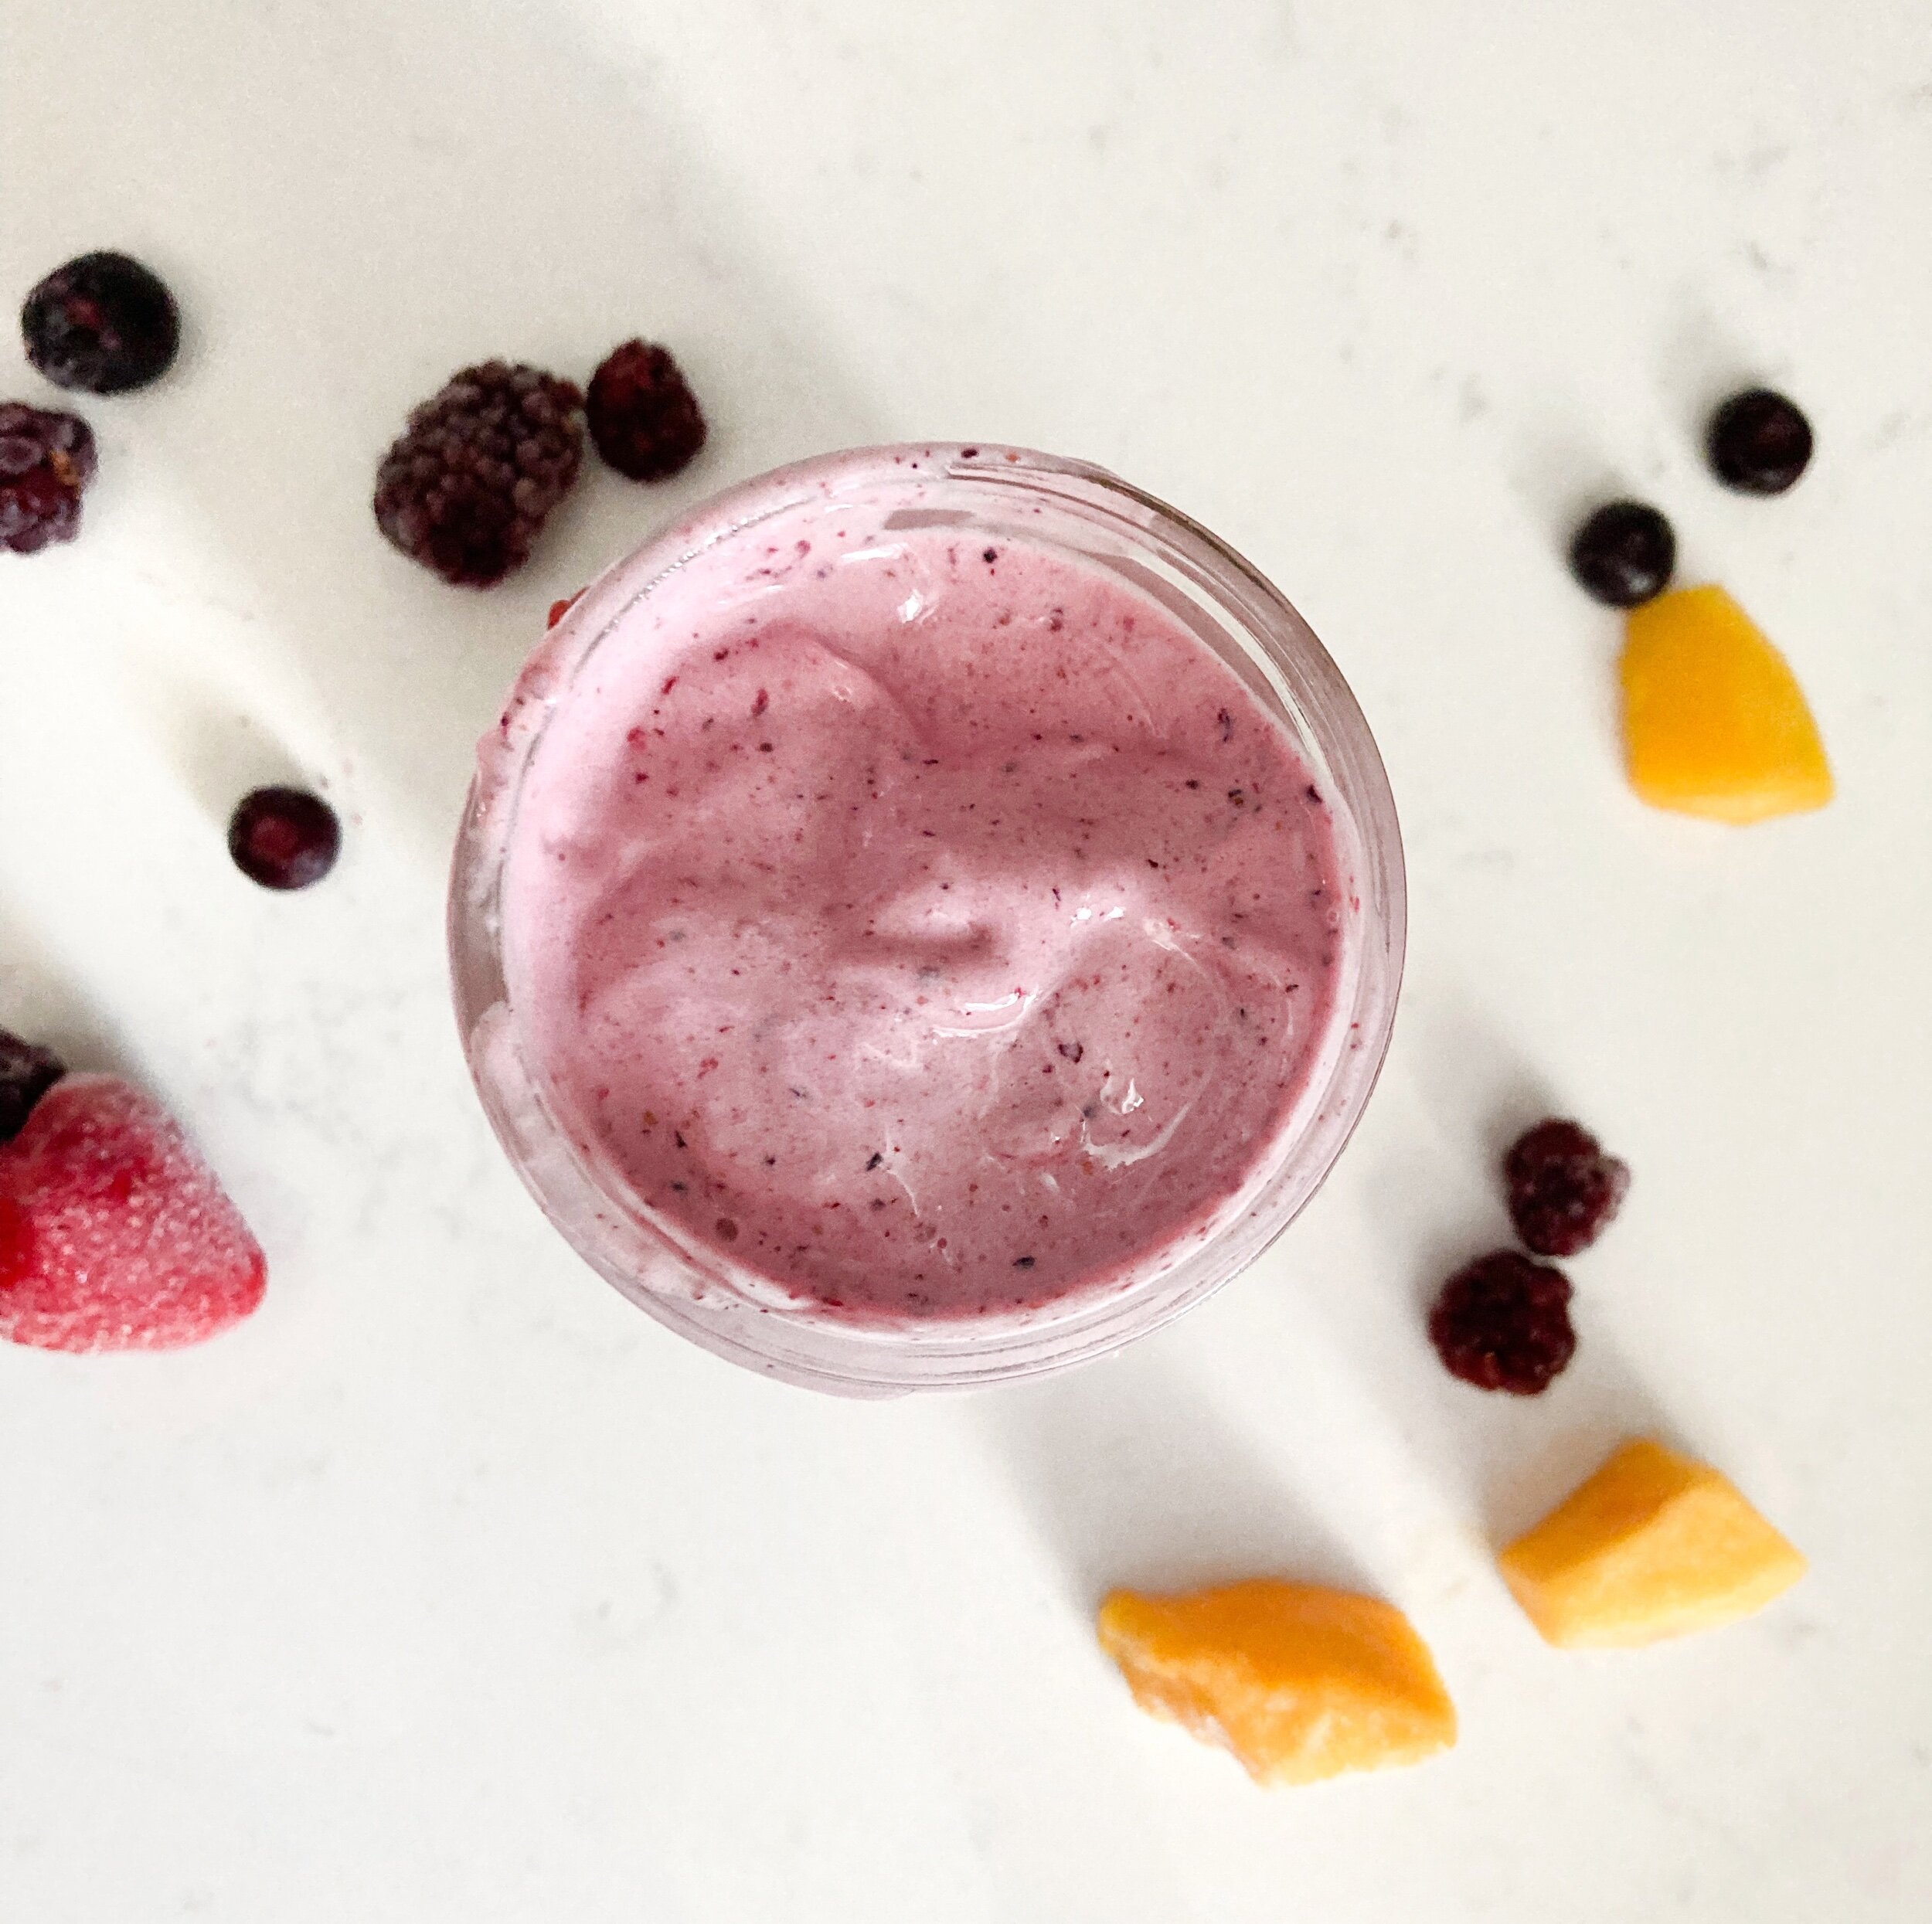
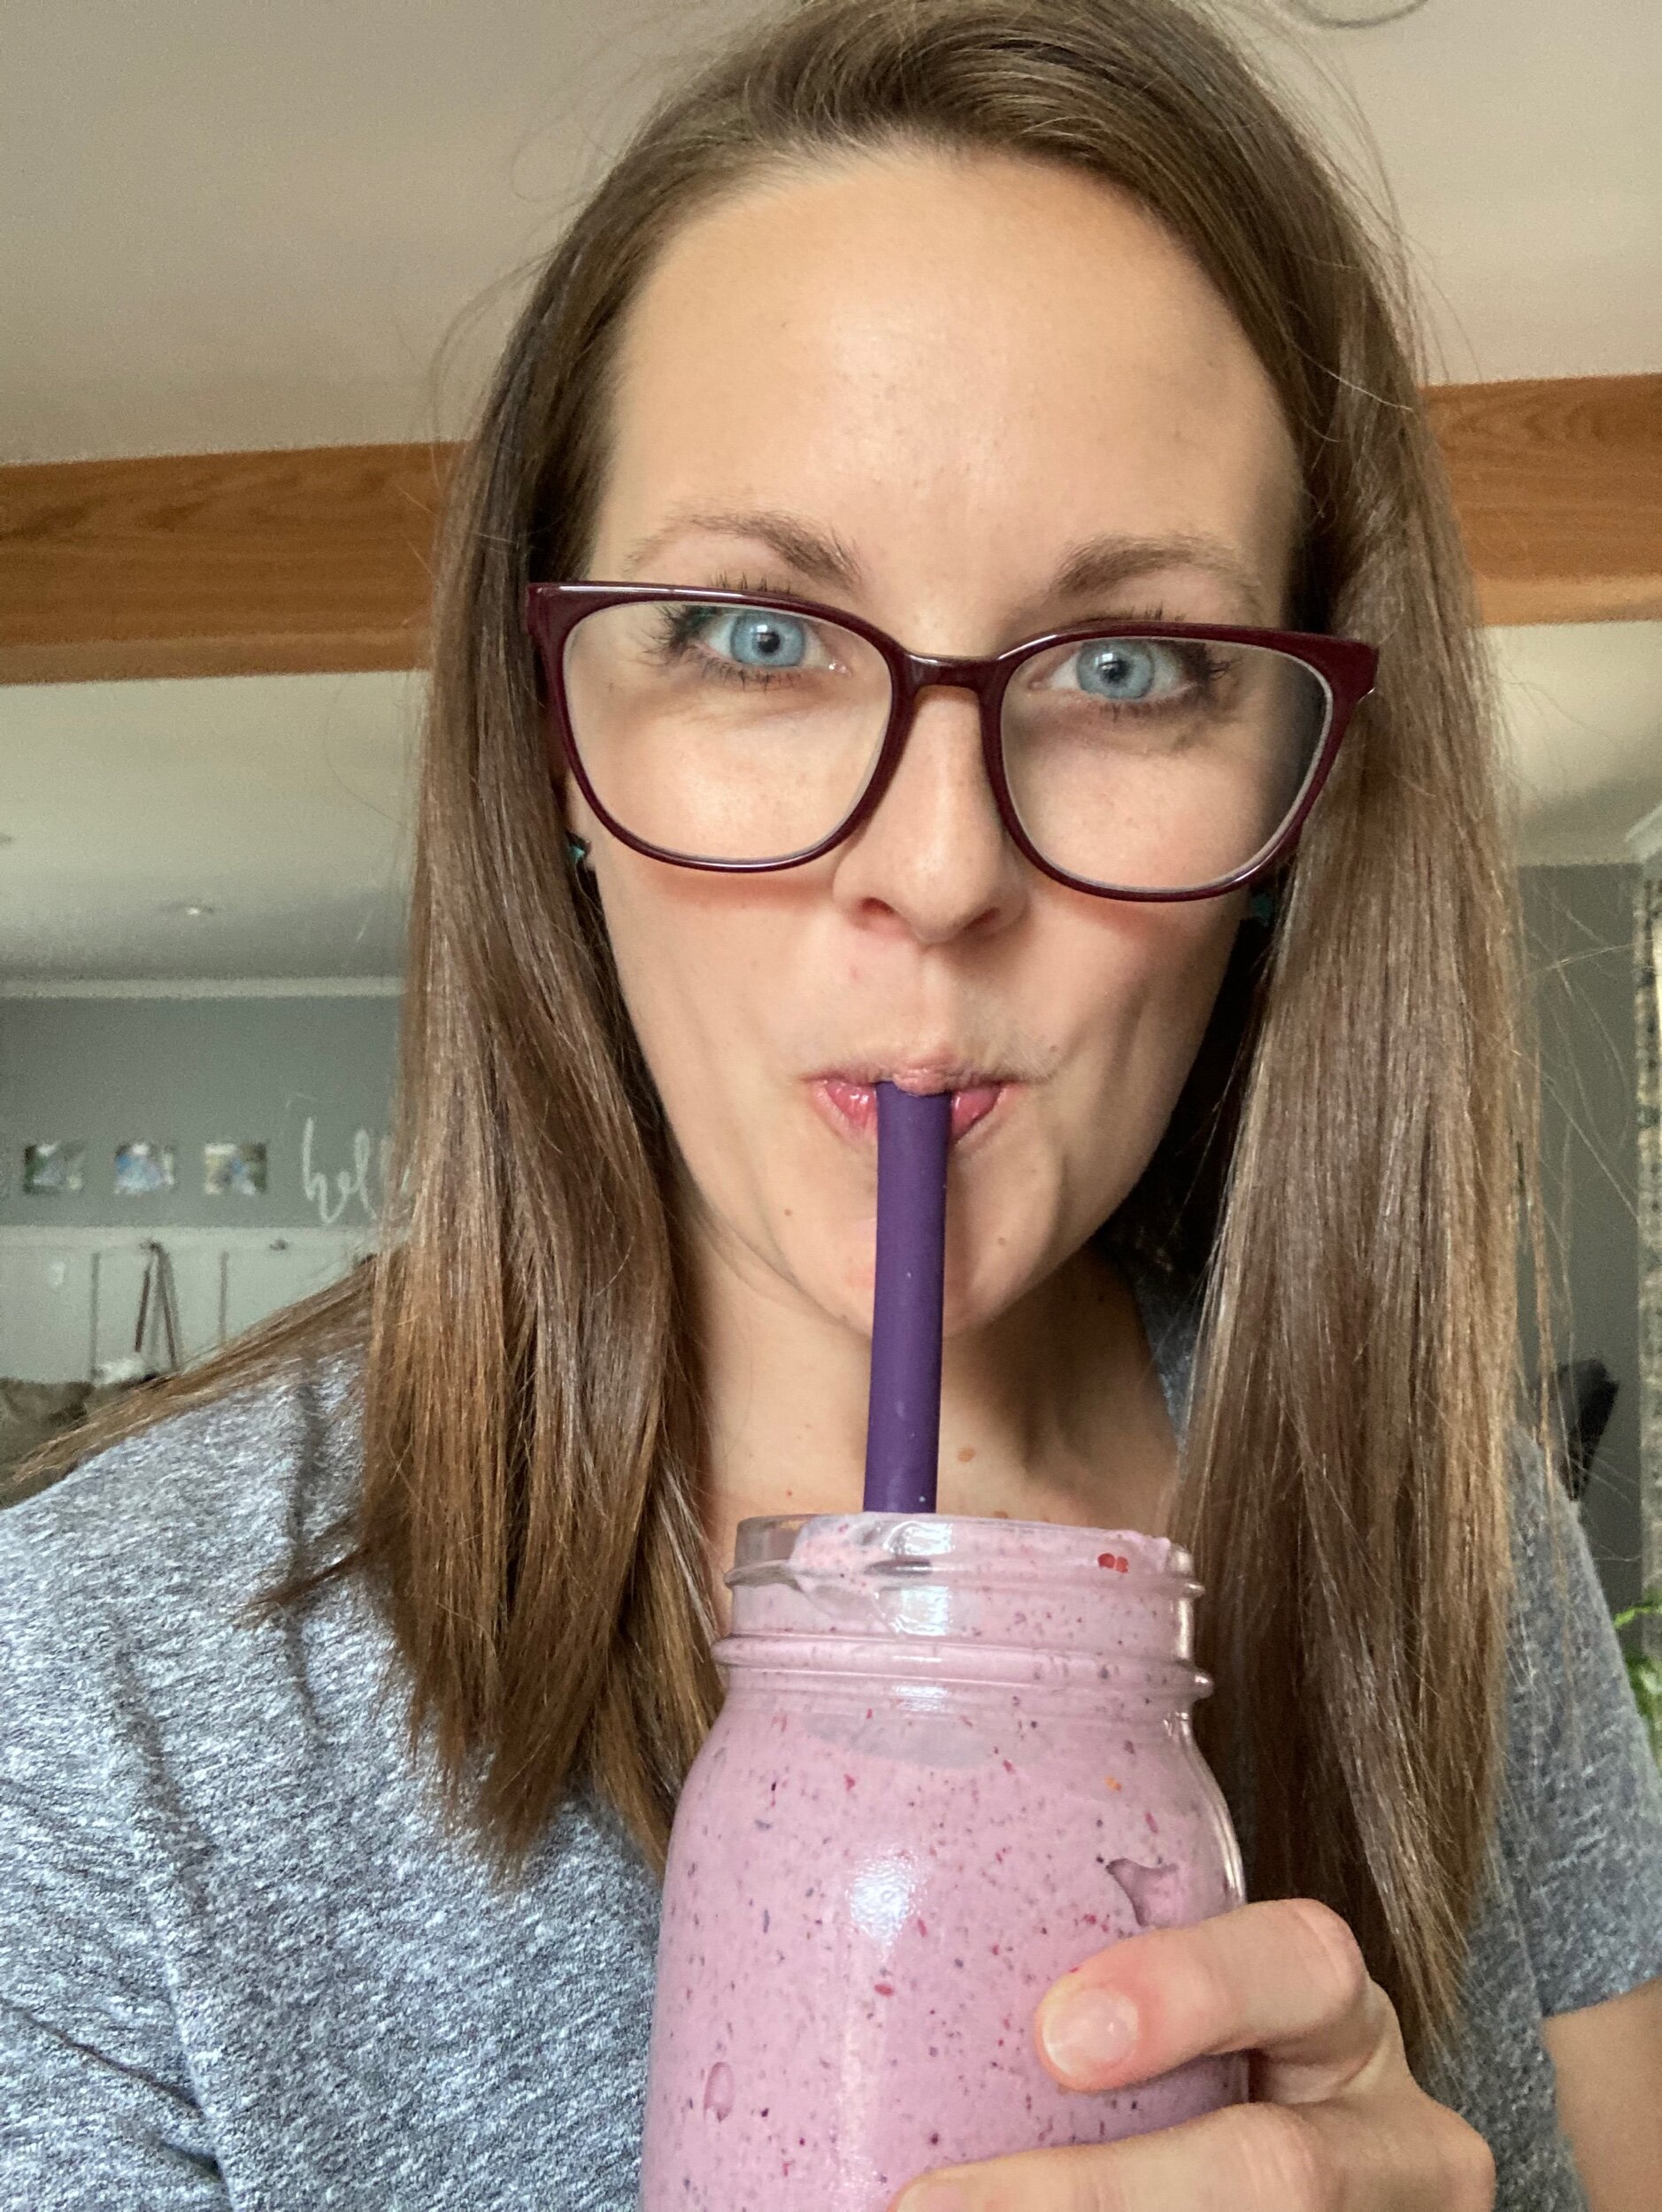
I mean, come on! Look at that creamy texture!!
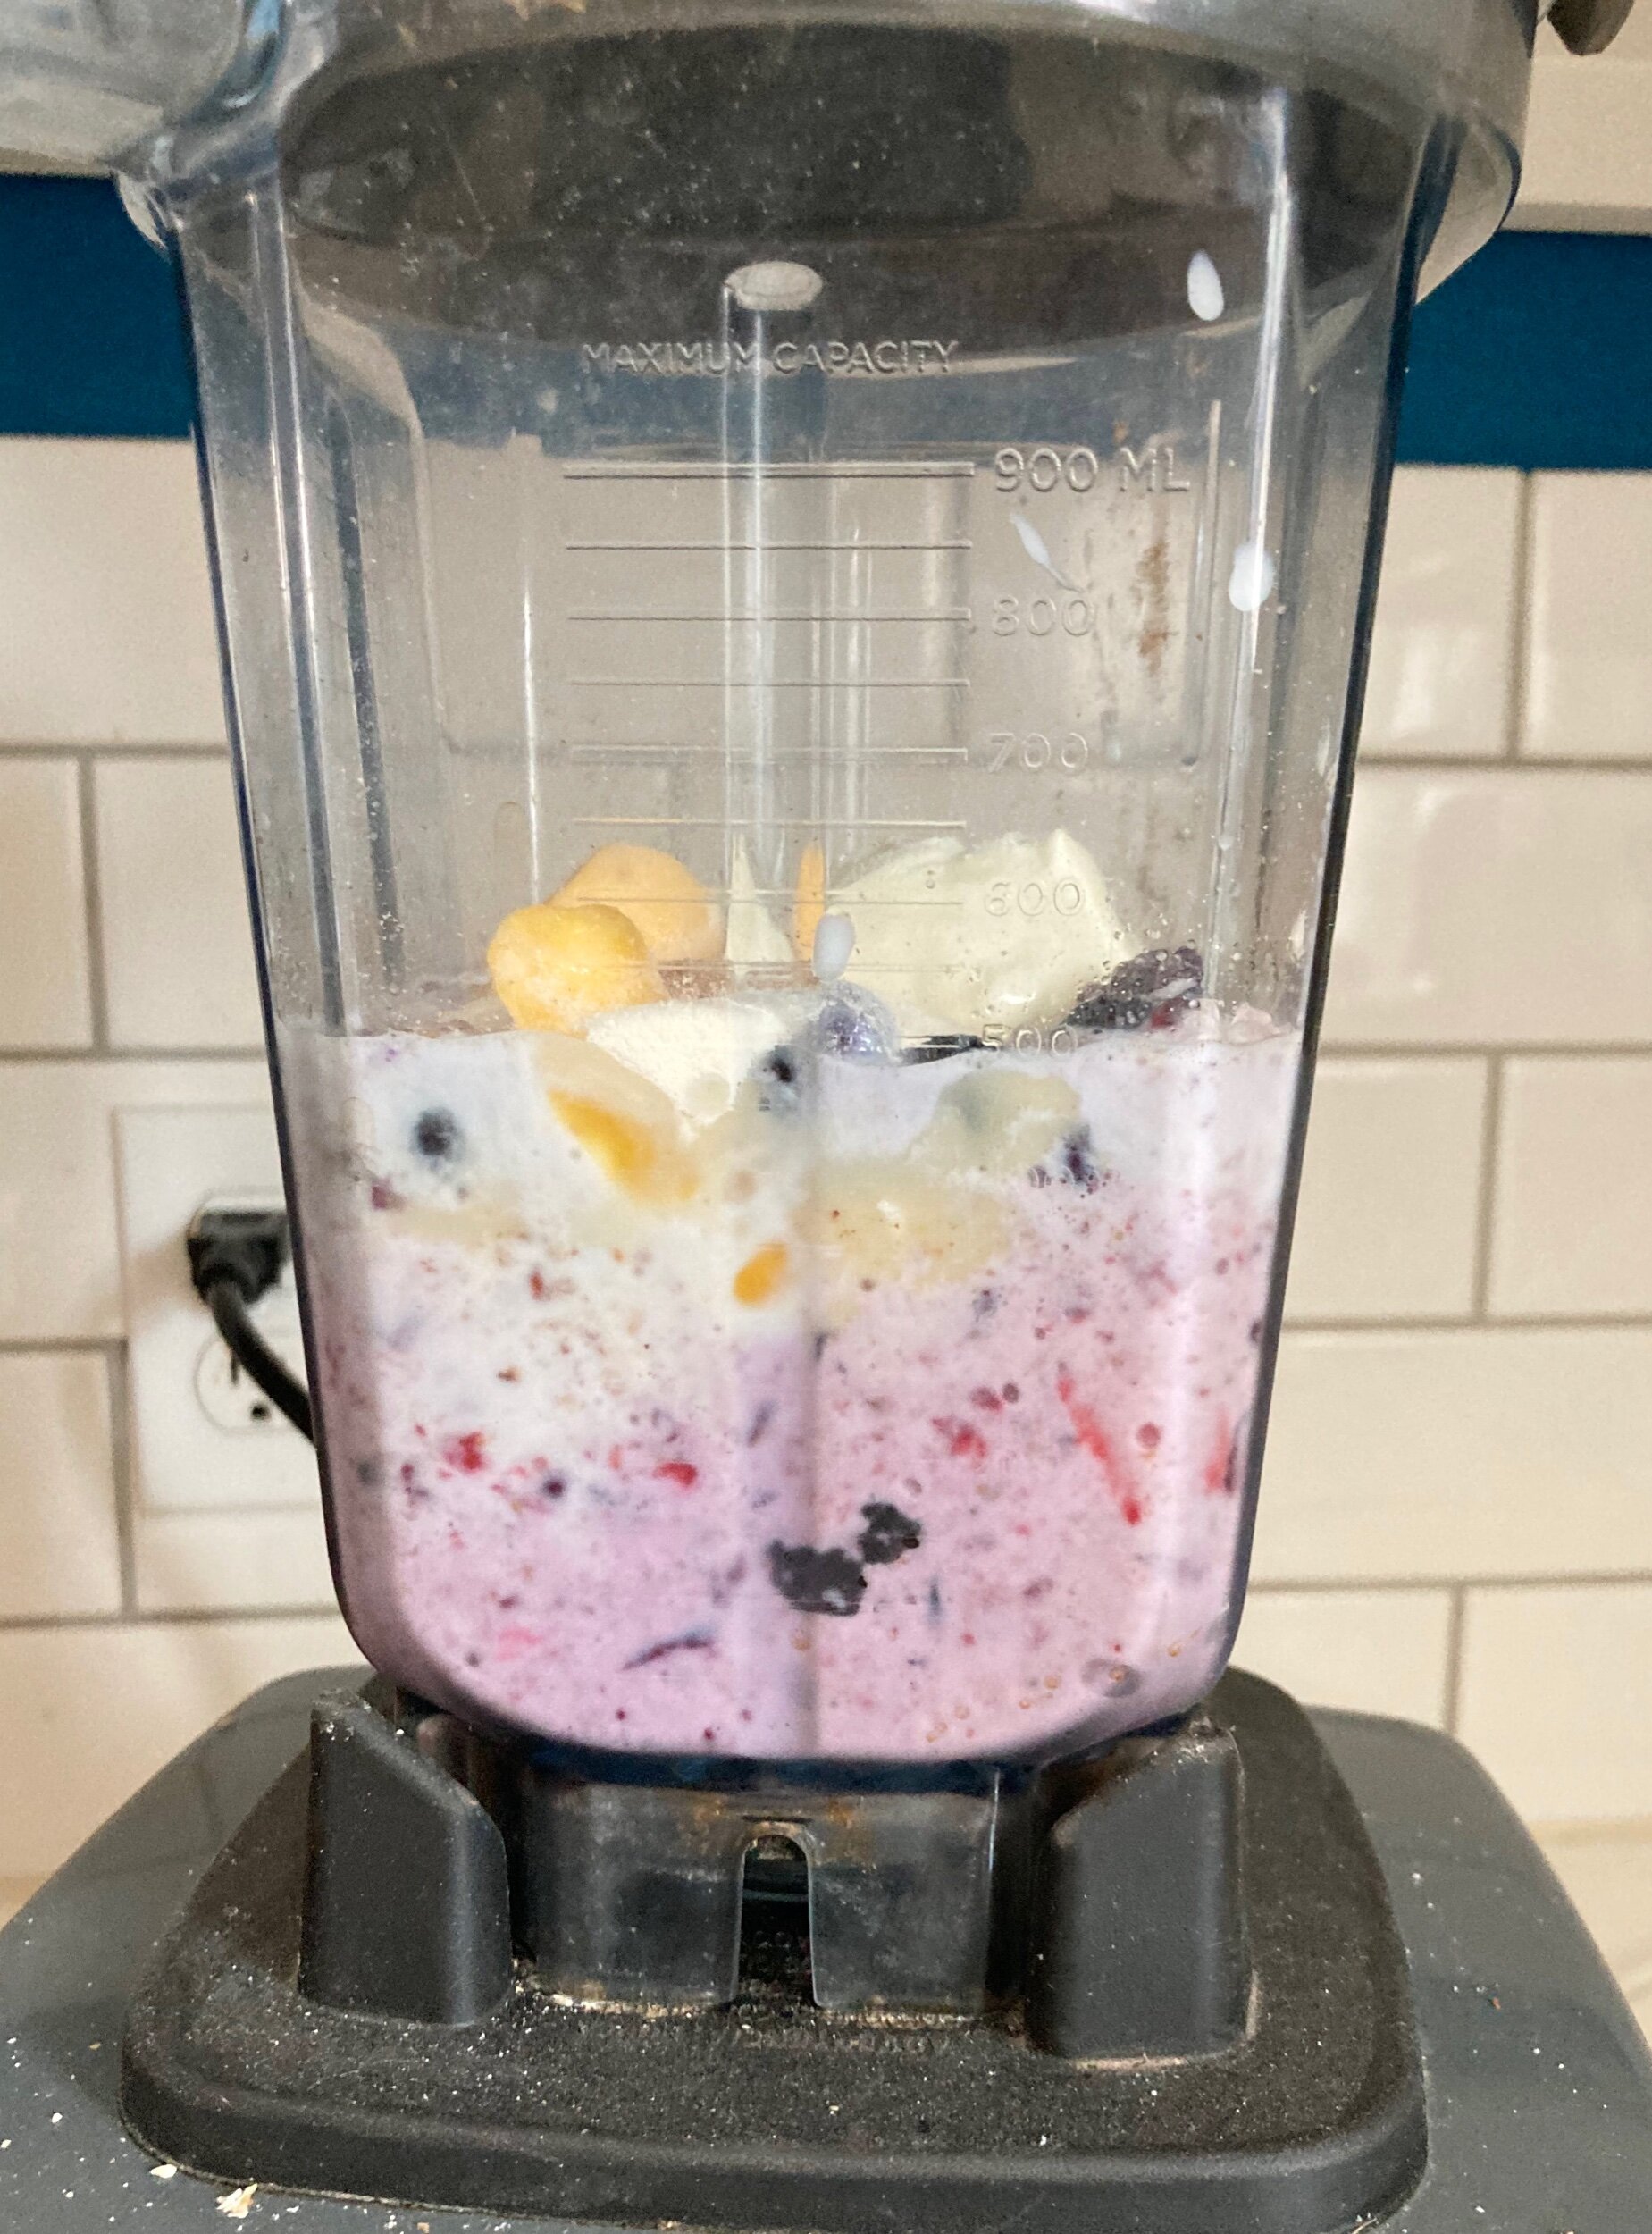
Dairy has been a major source of protein for Camden throughout the past two years, because well, toddler preferences against meat and beans. 🤪 When planning out his meals, and eventually Harlow’s, I aim for a source of protein, fat, carbs, and then a fruit or vegetable. Oftentimes, I use cheese or Greek yogurt as both the protein and fat because Cam loves them. He has also been a big fan of smoothies for quite awhile. As a baby and even more so now, it’s a VERY easy and convenient way for him to get in fruits and veggies as well as some protein and fat. The smoothie recipe below is our basic recipe that you can modify for your tastes and preferences. Switch up the fruits, add frozen steamed zucchini (I know it’s weird, but it makes it nice and creamy) or frozen spinach, use peanut butter instead of almond butter, add chia or flaxseed—the possibilities are endless. We also use less milk so that it’s super thick and creamy. You can make it more runny if you prefer that. We sometimes eat this as a meal and other times share it as part of dinner or as a refreshing afternoon snack.
If you want to see Camden and I make it live, check us out on Instagram.
For more information on introducing food to little ones from birth to 24 months, check out these two helpful resources on when, how, and what to feed your child. Airplane Choo Choo and Mealtime with Your Little One
I hope you enjoy this as much as we do!

Mommy and Me Smoothie
Ingredients
- 1.5 cups frozen fruit (I use half mixed berries, half mango)
- 1 Tbsp almond butter
- 1 cup milk (I use whole milk)
- 2 Tbsp plain full fat Greek yogurt
- 1 scoop of protein powder (plain or vanilla)
Instructions
- Add all the ingredients to your blender and mix until fully combined and creamy. Add more milk if you prefer the texture to be thinner.
Notes:
If you're giving this to your little one, be aware of your child's ability to chew/swallow little seeds. If this is a concern, try frozen fruits without a lot of large/hard seeds--strawberries, mango, pineapple, peaches, banana, etc.
If you prefer sweeter smoothies, try adding a date or maple syrup.
If you want to add some veggies, a handful of frozen raw spinach or kale mixes in easily or even steamed, frozen vegetables such as sweet potato or squash!
Fall Apple Muffins with Crunchy Cinnamon Topping
This recipe was created in collaboration with Midwest Dairy as part of the dairy community’s Undeniably Dairy campaign . I was compensated for my time, but the content and opinions included are my own.
It’s fall, ya’ll…or can we agree it’s basically winter already?? It’s currently 16 degrees outside as I write this. Holy moly, summer transitioned into winter quickly! But to be honest, I’m loving cozy sweaters and pajama pants, candles, hot coffee, and pumpkin spice EVERYTHING. If you follow me on instagram, you know that I’m already listening to Christmas music. There’s no shame in my game.
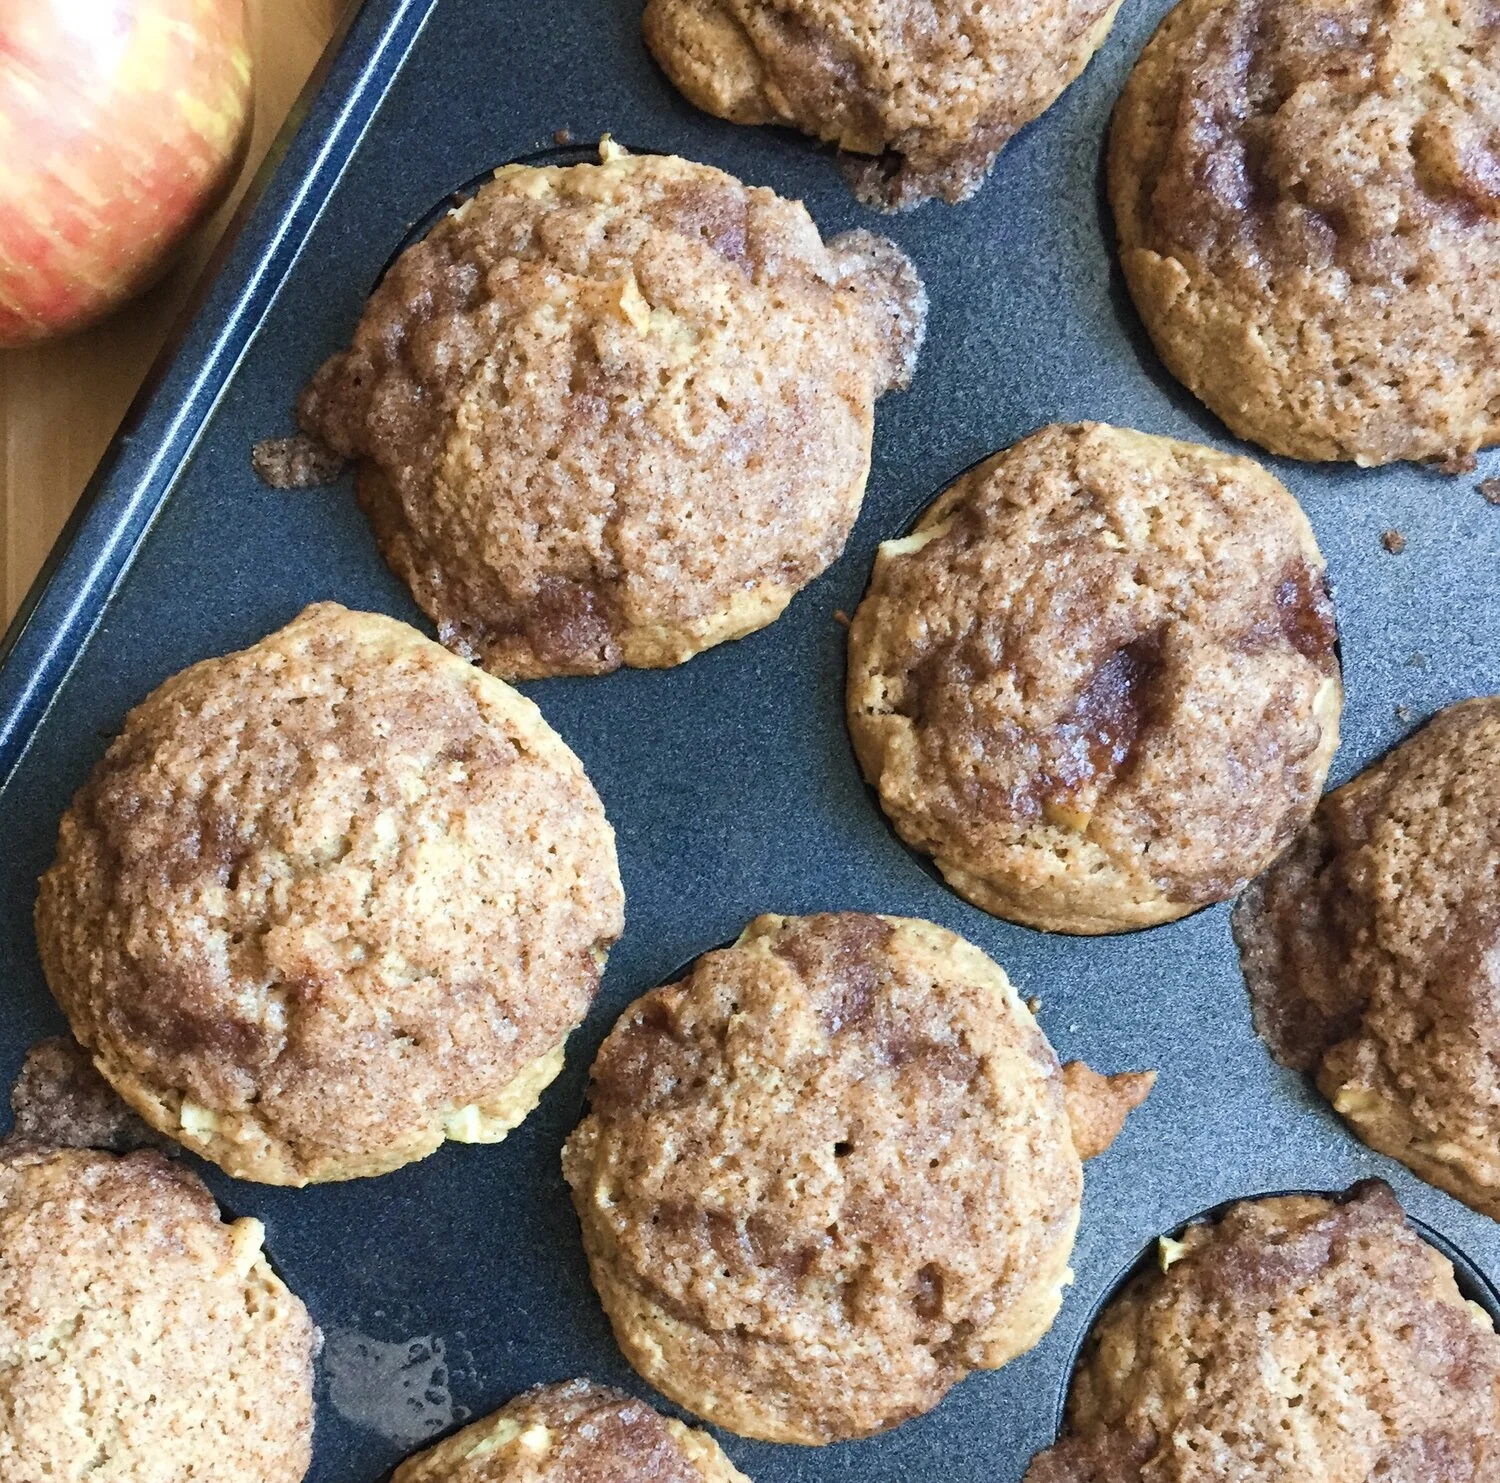
So in light of the changing weather, fall produce, and the upcoming holidays, I am bringing you these delicious fall apple muffins with crunchy cinnamon topping!!

My neighbor recently had a baby (I promise this is a relevant story), so I wanted to bring her family some snacks to eat on while they figured out a rhythm for taking care of a newborn. I know when we had Camden that meals brought to us was so helpful. And I also know that my hunger was like none other, so snacks and substantial meals were essential. I found an apple muffin recipe that I made for them, but found them to be super dry and dense, and they weren’t sweet enough for my preference. So I decided I needed to perfect my own apple muffin recipe. After a few tries, I found a recipe that brings the right amount of sweetness (it’s there, but not overly so) and is tender and moist.

A few of my tricks for this recipe is the buttermilk, almond flour, and preparation technique. Now, I’m sure you could use regular milk (you know, because thinking AHEAD to get buttermilk doesn’t always happen), but buttermilk gives it moisture and a nice fluffy texture. Leftover buttermilk is great for pancakes, biscuits, scones, and even oven fried chicken nuggets. The majority of the flour used is white whole wheat and all purpose, but I added a little almond flour to make them more moist. It’s actually a trick I use in a lot of my baked goods. Lastly, I made sure to not over mix the batter. The instructions included help to minimize mixing so that your muffins don’t turn out like a rock. You’re welcome. 😉

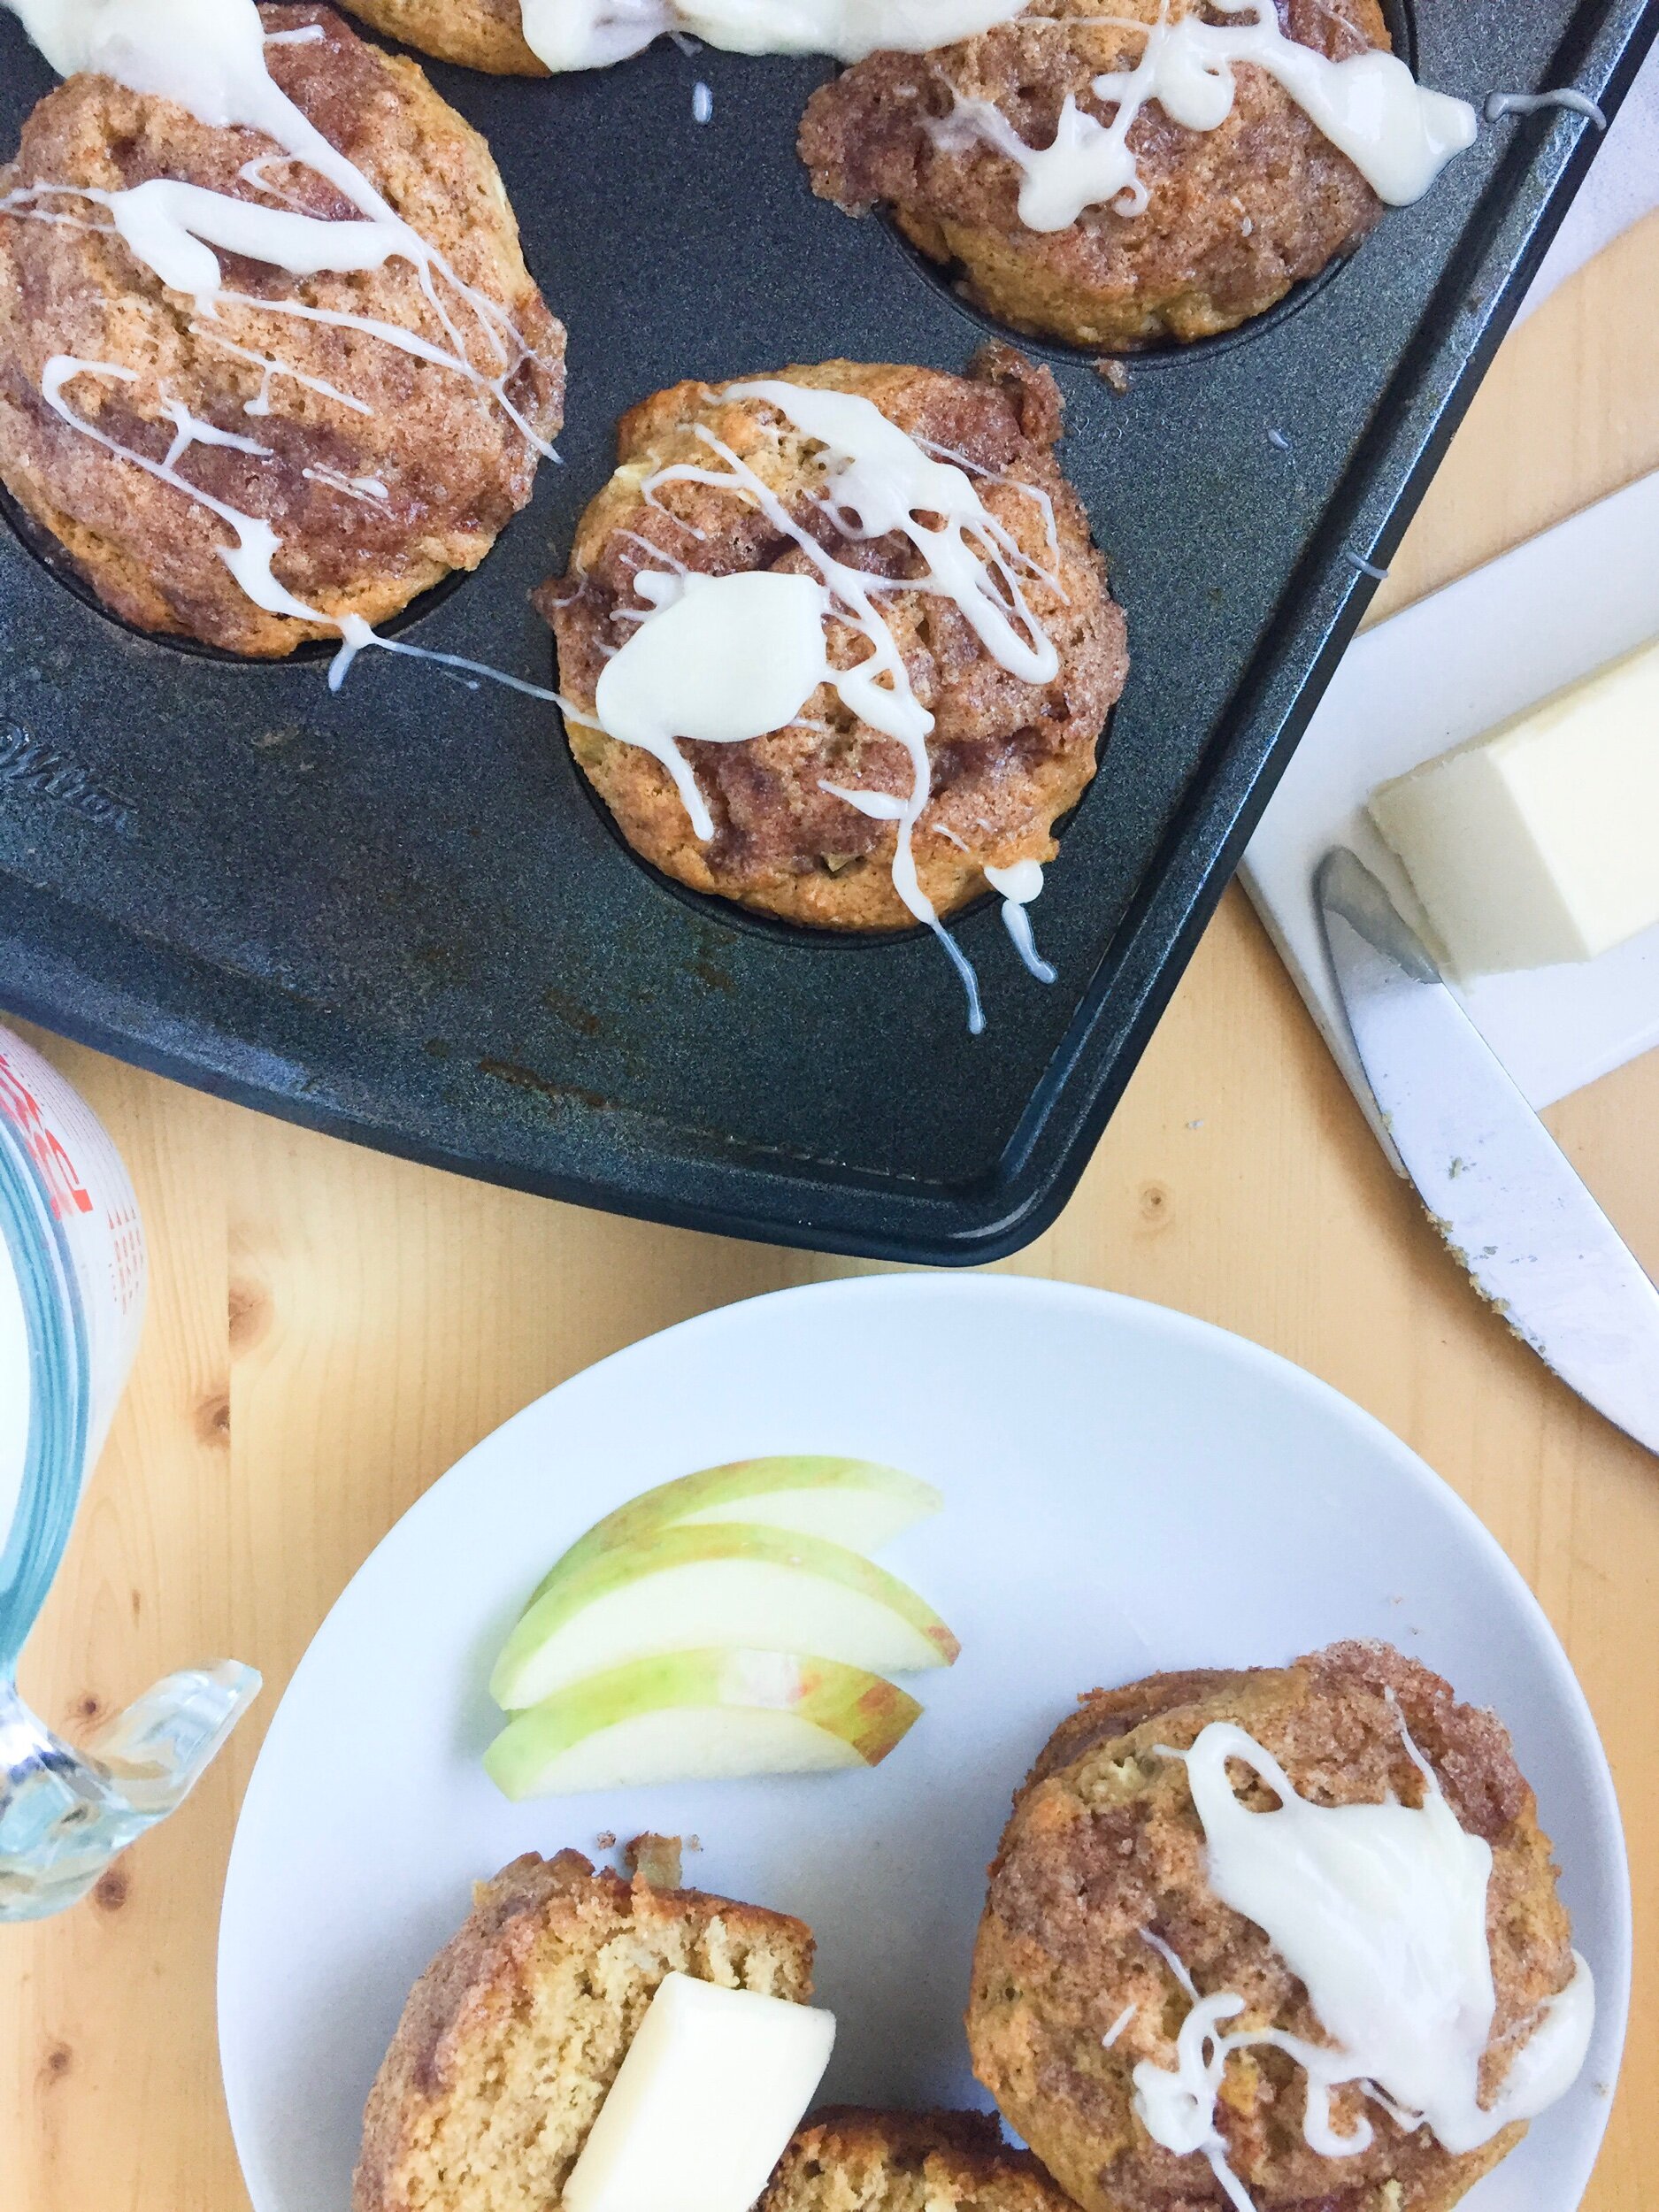
Oh and that crunchy cinnamon topping? It’s optional, but not really optional, if you know what I mean. It reminds me of coffee cake…which is why I think you should make them for a thanksgiving/friendsgiving/special-family-gather brunch. And if you want to make them a little more fancy, just drizzle some powdered sugar icing or cream cheese frosting on top!

I’d love to hear if you made these and what you think!!

Fall Apple Muffins with Crunchy Cinnamon Topping
Ingredients
- 1 C buttermilk (warmed in microwave for 30 seconds)
- 1 egg
- 1/3 C melted coconut oil
- 1/4 C maple syrup
- 1 1/4 C white whole wheat flour
- 2/3 C all purpose flour
- 1/3 C almond flour
- 1 tsp baking soda
- 1 tsp baking powder
- 1 tsp cinnamon
- 1/2 tsp salt
- 1 1/2 C finely diced apple (granny smith, pink lady, or honeycrisp)
- 2 Tbsp unsalted butter, melted
- 3 Tbsp white sugar
- ½ tsp cinnamon
Instructions
- Preheat oven to 425.
- Finely chop apple and combine with remaining dry ingredients. Mix together.
- In a separate bowl, microwave the buttermilk to warm it slightly. If not, the melted coconut oil will solidify and make mixing difficult. Add the egg, maple syrup, and coconut oil.
- Fold the wet ingredients into the dry, being careful to not over mix the batter (that makes them dry and dense). Grease a 12 muffin tin and divide the batter evenly—the tins will be full.
- Microwave the butter and add the sugar and cinnamon and mix. Top muffins with a teaspoon or so of mixture.
- Bake for 5 minutes, decrease temperature to 400 and bake for an additional 10 minutes. Muffins are done when a toothpick comes out clean.
For more dairy inspired recipes, you can check out https://dairygood.org/recipes.