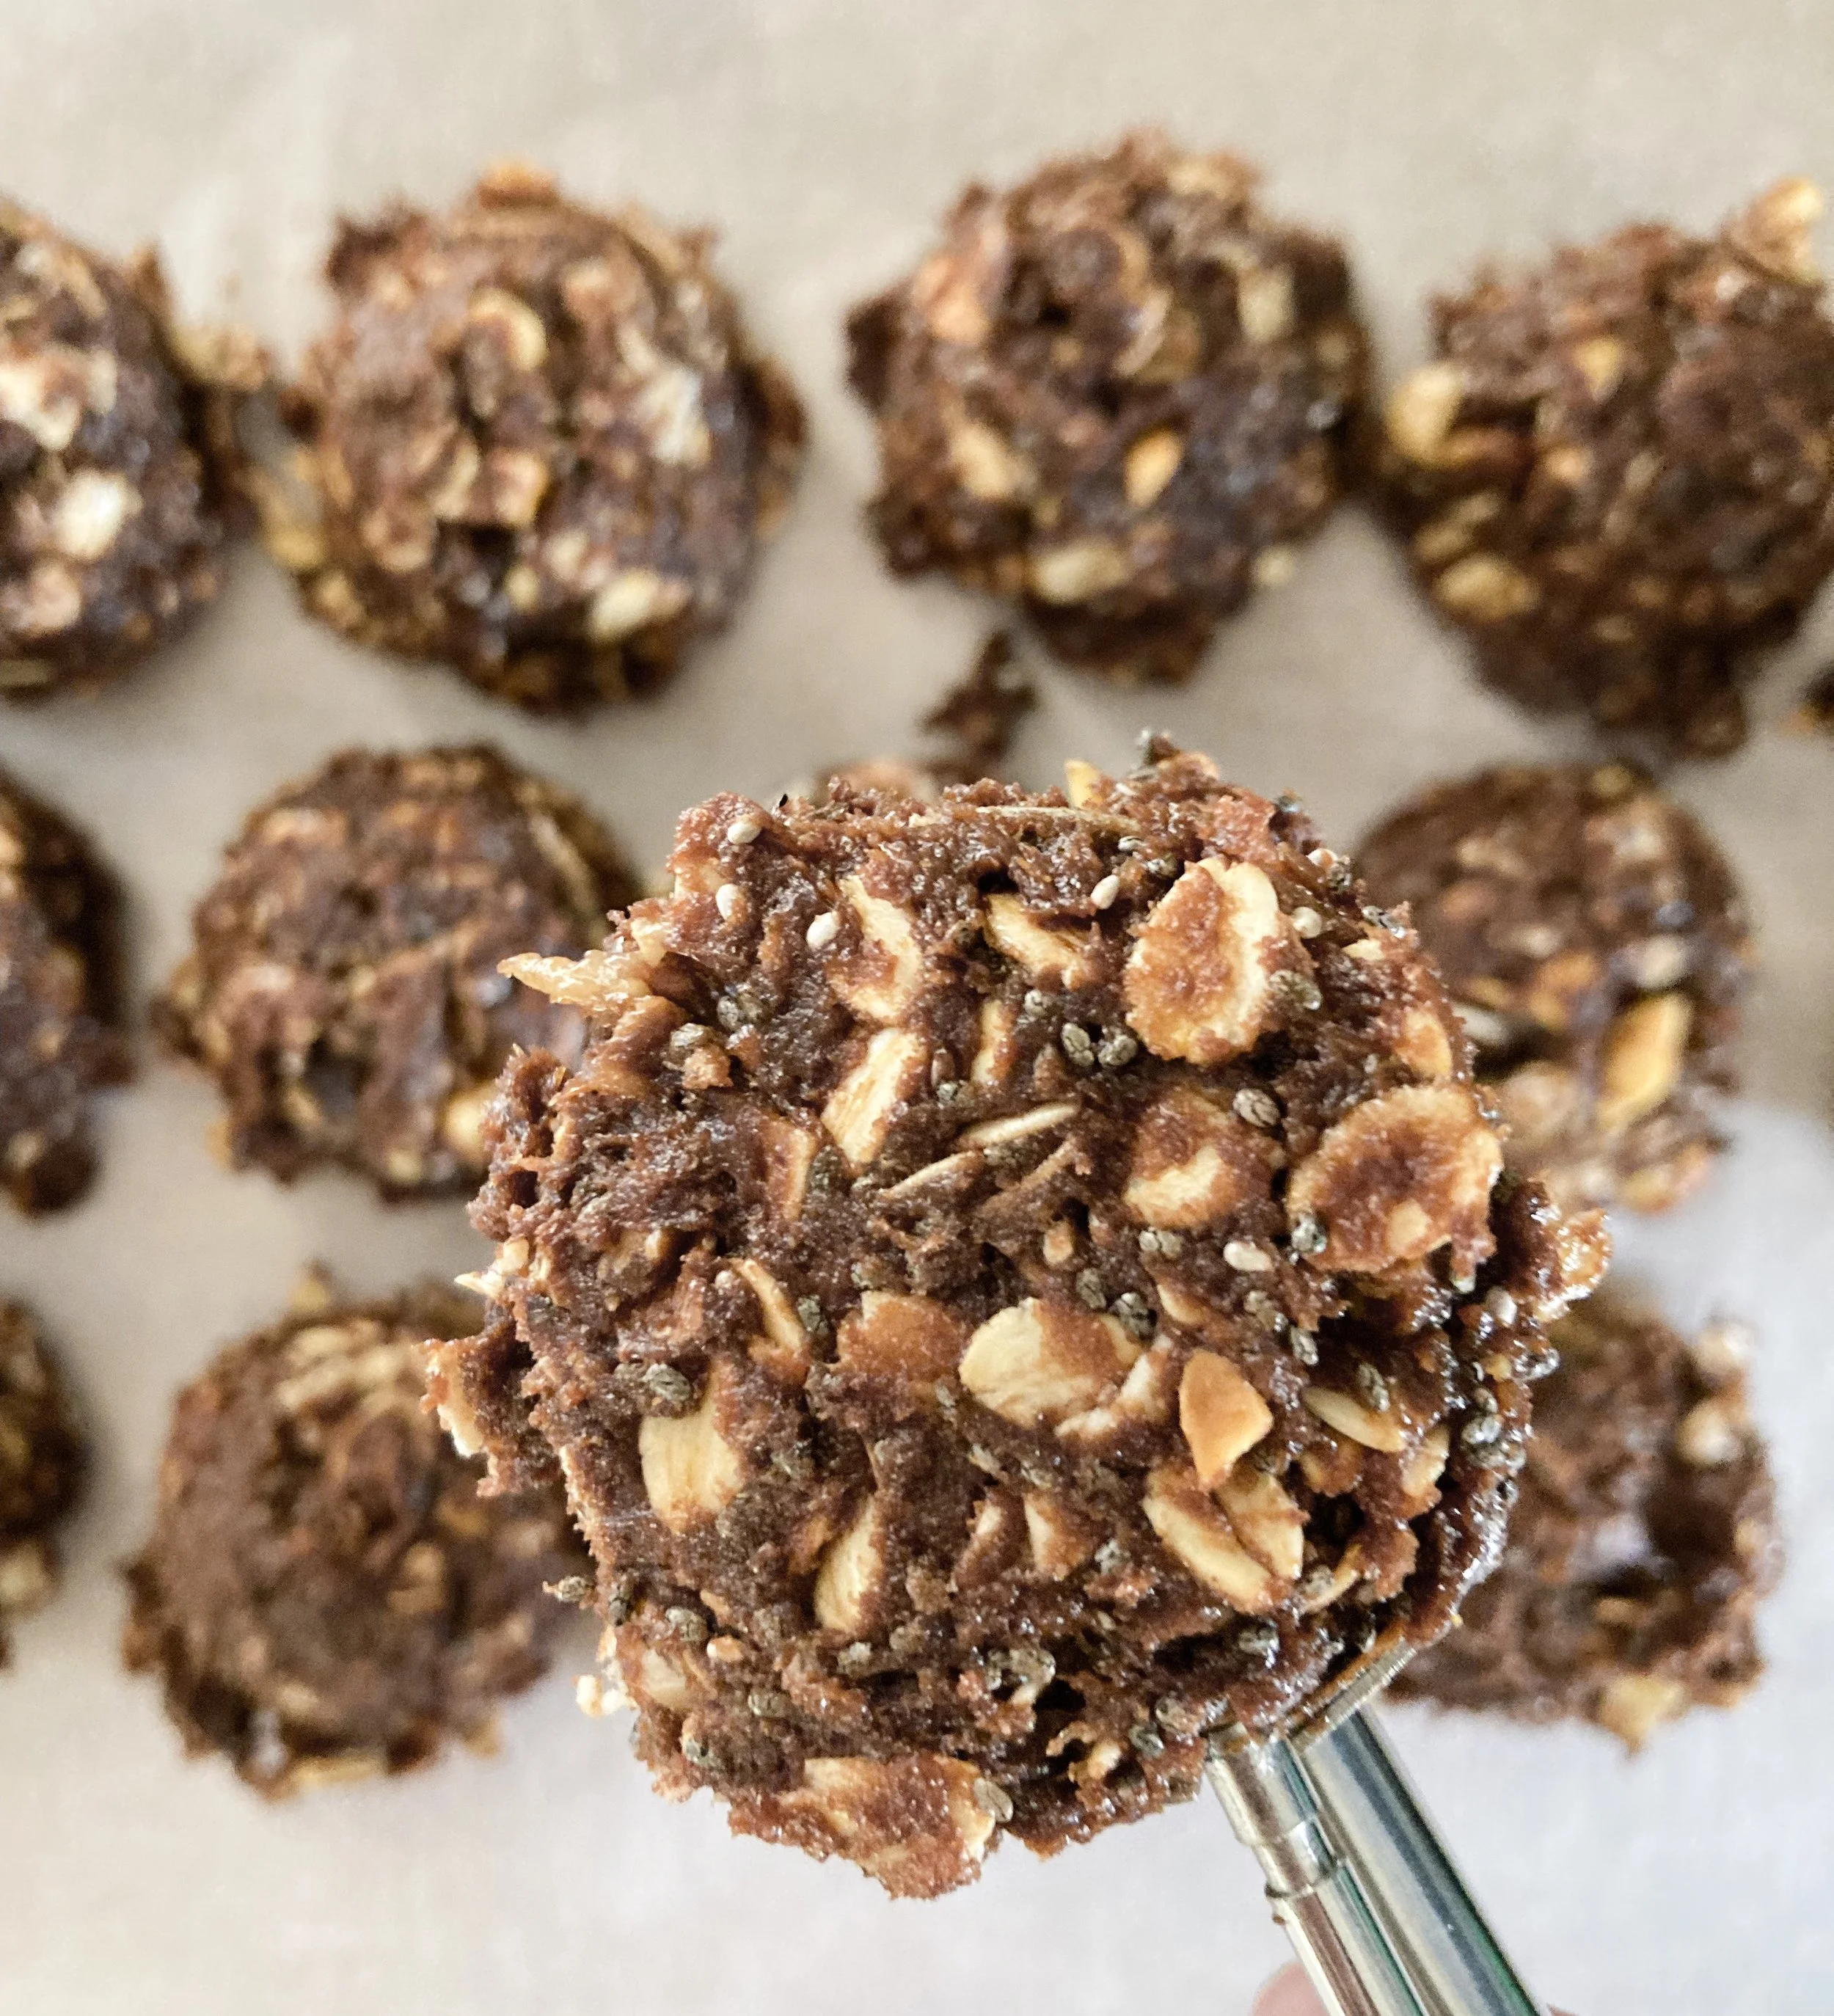
Chewy Chocolate Protein Balls
Anyone else here in big need of snack ideas?? 🙋♀️ With breastfeeding Harlow, I’m extra hungry, causing me to need more food more frequently. And if I’m honest, I get tired of eating the same things over and over. There are times that I’ll walk into the kitchen to get something to eat and think “I’m SO hungry, but what do I eat that I haven’t already eaten at least once today?” 🤪I need something filling, satisfying, and easy that also leaves my body feeling good. That’s where these chewy chocolate protein balls come in. Think cold, chewy no-bake cookie. They’re the perfect combination with plenty of protein, carbs, and fat as well as fiber from the oats, chia seeds, and banana. I’ll make up a batch, throw them in the freezer and then grab a few for a delicious and filling snack.

This Christmas season, Isaac and I decided to make various traditional Christmas foods at our house. So I’ll be munching on homemade snack mix (I finally found Bugles at the store. Who knew they were so hard to track down?!), sausage balls, and crackers and cheese over the next few weeks. If you have any current favorite snack ideas, comment below. I’d love to hear what you’re munching on.
Hope you enjoy these as much as we do!

Chewy chocolate protein balls
Ingredients
- 1 cup peanut butter
- 1/4 cup honey
- 1/4 cup chia seeds
- 1 banana, mashed
- 1/3 cup cocoa powder
- 1/4 cup collagen peptides
- 1 cup oats
- 1/2 cup chopped nuts (I use peanuts and almonds)
Instructions
- Stir together the peanut butter, honey, chia seeds, and mashed banana.
- Add remaining dry ingredients and stir until combined. Form into balls (or use a small cookie scoop), and freeze on a baking sheet with parchment paper for an hour. Transfer to a container or freezer bag.
- I recommend eating straight from the freezer!!

Black bean, sweet potato, and quinoa power bowl
Hello hello! I’m about to make your lunch meal prep or meatless Monday dinner a LOT more exciting. I can’t get over the amazing combinations of flavors in this meal. Inheritance is currently my favorite coffee spot, and occasionally I stop to get lunch and work. I have to be honest—I’m not usually prone to meatless meals. I typically just find them to be unsatisfying or unfilling. But I tried their black bean grain bowl and it changed my mind! So so good and really filling and satisfying. I decided I needed to make it at home for dinner, and BOY DID I DELIVER!! Not trying to toot my own horn, just really excited about how delicious this meal is. 🤪
It’s got a lot of different components, but each one adds a different element—crunch, saltiness, sweetness, acidity, etc. So although it takes some time prepping all the ingredients, the result is totally worth it. And it could easily be doubled for lunches all week. Just keep the ingredients separate in your fridge and then combine when packing your lunch. If you need a significant source of protein to feel full/satisfied or just feel best having an animal source of protein, chicken or fajita steak would be a really addition. And can I just point out all of the beautiful colors below?!?! 😮😍

If you end up making this, I’d love to hear your thoughts. Tag me @DonutEatingDietitian on Instagram. Happy eating!!

Black bean, sweet potato, and quinoa power bowl
Ingredients
- 1 cup multicolored quinoa, uncooked
- 2 cans black beans, undrained
- 2-3 large sweet potatoes
- Pickled red onions (see below)
- Magic green sauce (see below)
- Crumbled feta
- 4 cups kale, chopped
- Avocado oil, for roasting
- 3/4 tsp onion powder
- 3/4 tsp garlic powder
- Salt and pepper
- 1/2 red onion, thinly sliced
- 1/3 cup apple cider vinegar
- 2 Tbsp water
- 1/2 tsp salt
- 3/4 cup cilantro
- 3/4 cup parsley
- 1/2-1 jalapeno
- 1/2 avocado
- 2 Tbsp pepitas
- 1 lime, juiced
- 1/2 tsp salt
- 2 Tbsp olive oil
- water to thin
Instructions
- Bring the apple cider vinegar, water, and salt to a boil. Pour into a glass jar or container and add the thinly sliced red onion. Let it set for at least 30 minutes to allow the onions to pickle and soften slightly.
- Place all ingredients in a blender and blend until smooth. Add water as needed, but be careful about adding too much and making it runny.
- Preheat oven to 425.
- Prep picked red onions according to directions.
- Cut sweet potatoes into 1 inch cubes and toss with avocado oil, salt, and pepper. Roast in oven for 25 minutes, flipping halfway through, until potatoes are fully cooked and lightly browned and crispy.
- Cook quinoa according to directions (I use a 1:2 quinoa:water ratio).
- Bring undrained black beans, onion powder, and garlic powder to simmer and cook until most of the water has evaporated and the black beans are thick and saucy.
- Make magic green sauce in blender according to directions.
- Chop kale and massage it with 1 Tbsp oil and 1/8 tsp salt.
- Once all of the components are ready, assemble bowl with kale, potatoes, quinoa, pickled red onions, green sauce, and feta.
- Enjoy!

Mommy and Me Smoothie
This recipe was created in collaboration with Midwest Dairy. I was compensated for my time, but the content and opinions included are my own.
You guys!! How is my baby starting to eat solids already?! WHERE has the time gone? Surely I don’t have a 6+ month year old. 😮 But alas, I DO. We are in the process of introducing new foods to sweet Harlow girl and allowing her to explore new flavors and textures. Something I forgot about is ALLLLL the messes created in this season. I love how relatively clean Camden is eating at the table. His food stays on his plate and I rarely have to clean his hands or face afterwards. There is just SO much cleaning that now has to be done—cleaning the high chair table, cleaning the bibs, washing out the rags we use to clean food off of her, and increased laundry with avocado and other food stains. 🥴 Woof.

With Camden, we used the baby led weaning process for introducing food to him. Pureed baby foods is a relatively new thing and before then, people were giving their babies the food they were eating. We liked how much cheaper and easier it was to be able to just give him the food we were eating (with a few modifications). It’s not for everyone, but we really liked it and how it encouraged independence and self-regulation with food.
One of the first foods I offered Camden was plain greek yogurt with peanut butter mixed in and have done the same with Harlow. Greek yogurt is a great source of protein and fat as well as key vitamins and minerals, so I feel like it has a great nutritional bang for its buck. And surprisingly, recommendations for introducing high allergenic foods like dairy, nuts, and shellfish have changed from waiting until after 1 years old (for dairy, later for other allergens) to introducing it earlier in order to prevent risk of developing an allergy (if you or your family has a history of allergies, these recommendations are a little different—so research this and ask your pediatrician before you start introducing those foods to your little ones. The purpose of this post is not on baby led weaning or allergies with babies).

In our current culture, there seems to be a lot of fear regarding giving our children dairy (or even ourselves!). If you have questions about the safety or nutrition of dairy, check out the Q&A I did last year on it. You can also check out the blog post here. Before having Camden, I did my own personal research on common concerns regarding dairy and feel VERY confident giving it to my children. Dairy isn’t a necessity, but I love how it packs a punch in terms of nutrition for a relatively low cost. And let’s be real, it’s just so stinking delicious. Recommendations are for babies to be at least one year old before introducing cow’s milk to drink (babies should be drinking formula or breastmilk until then), but other sources such as yogurt, cottage cheese, or cheese are recommended. Additionally, milk IN things is just fine—just not straight in a bottle or cup because of the low iron content in cow’s milk.

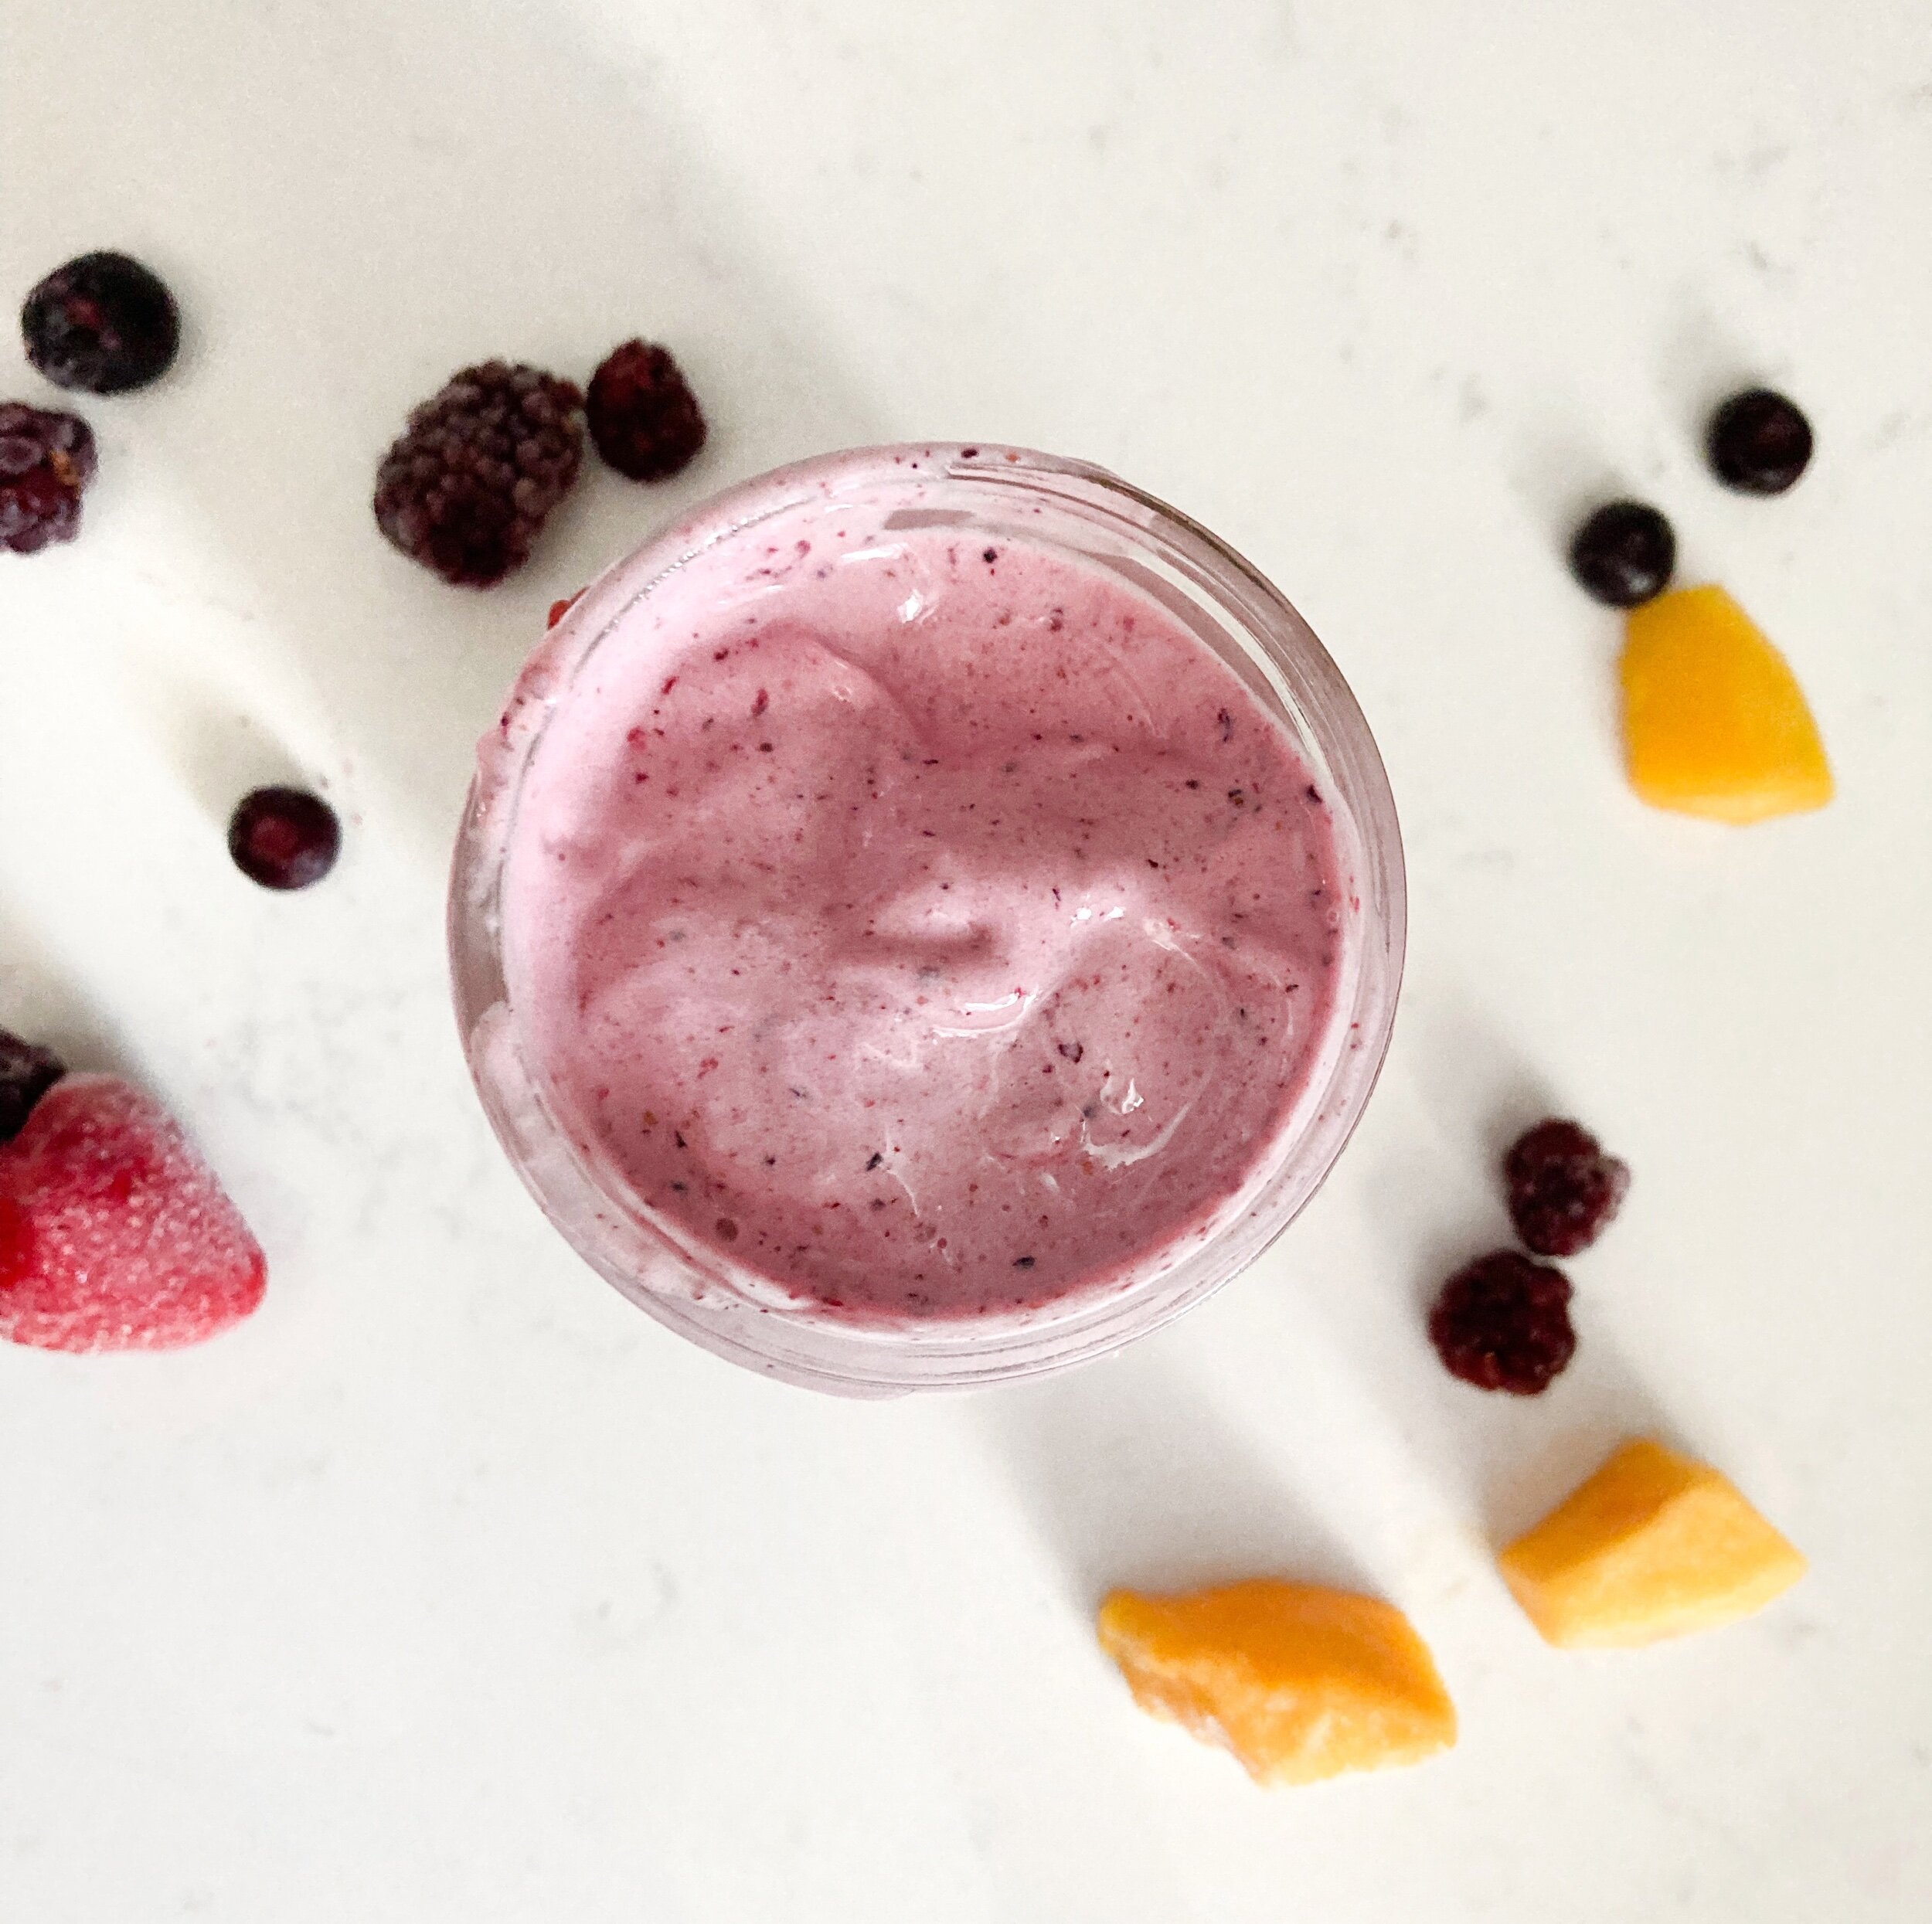
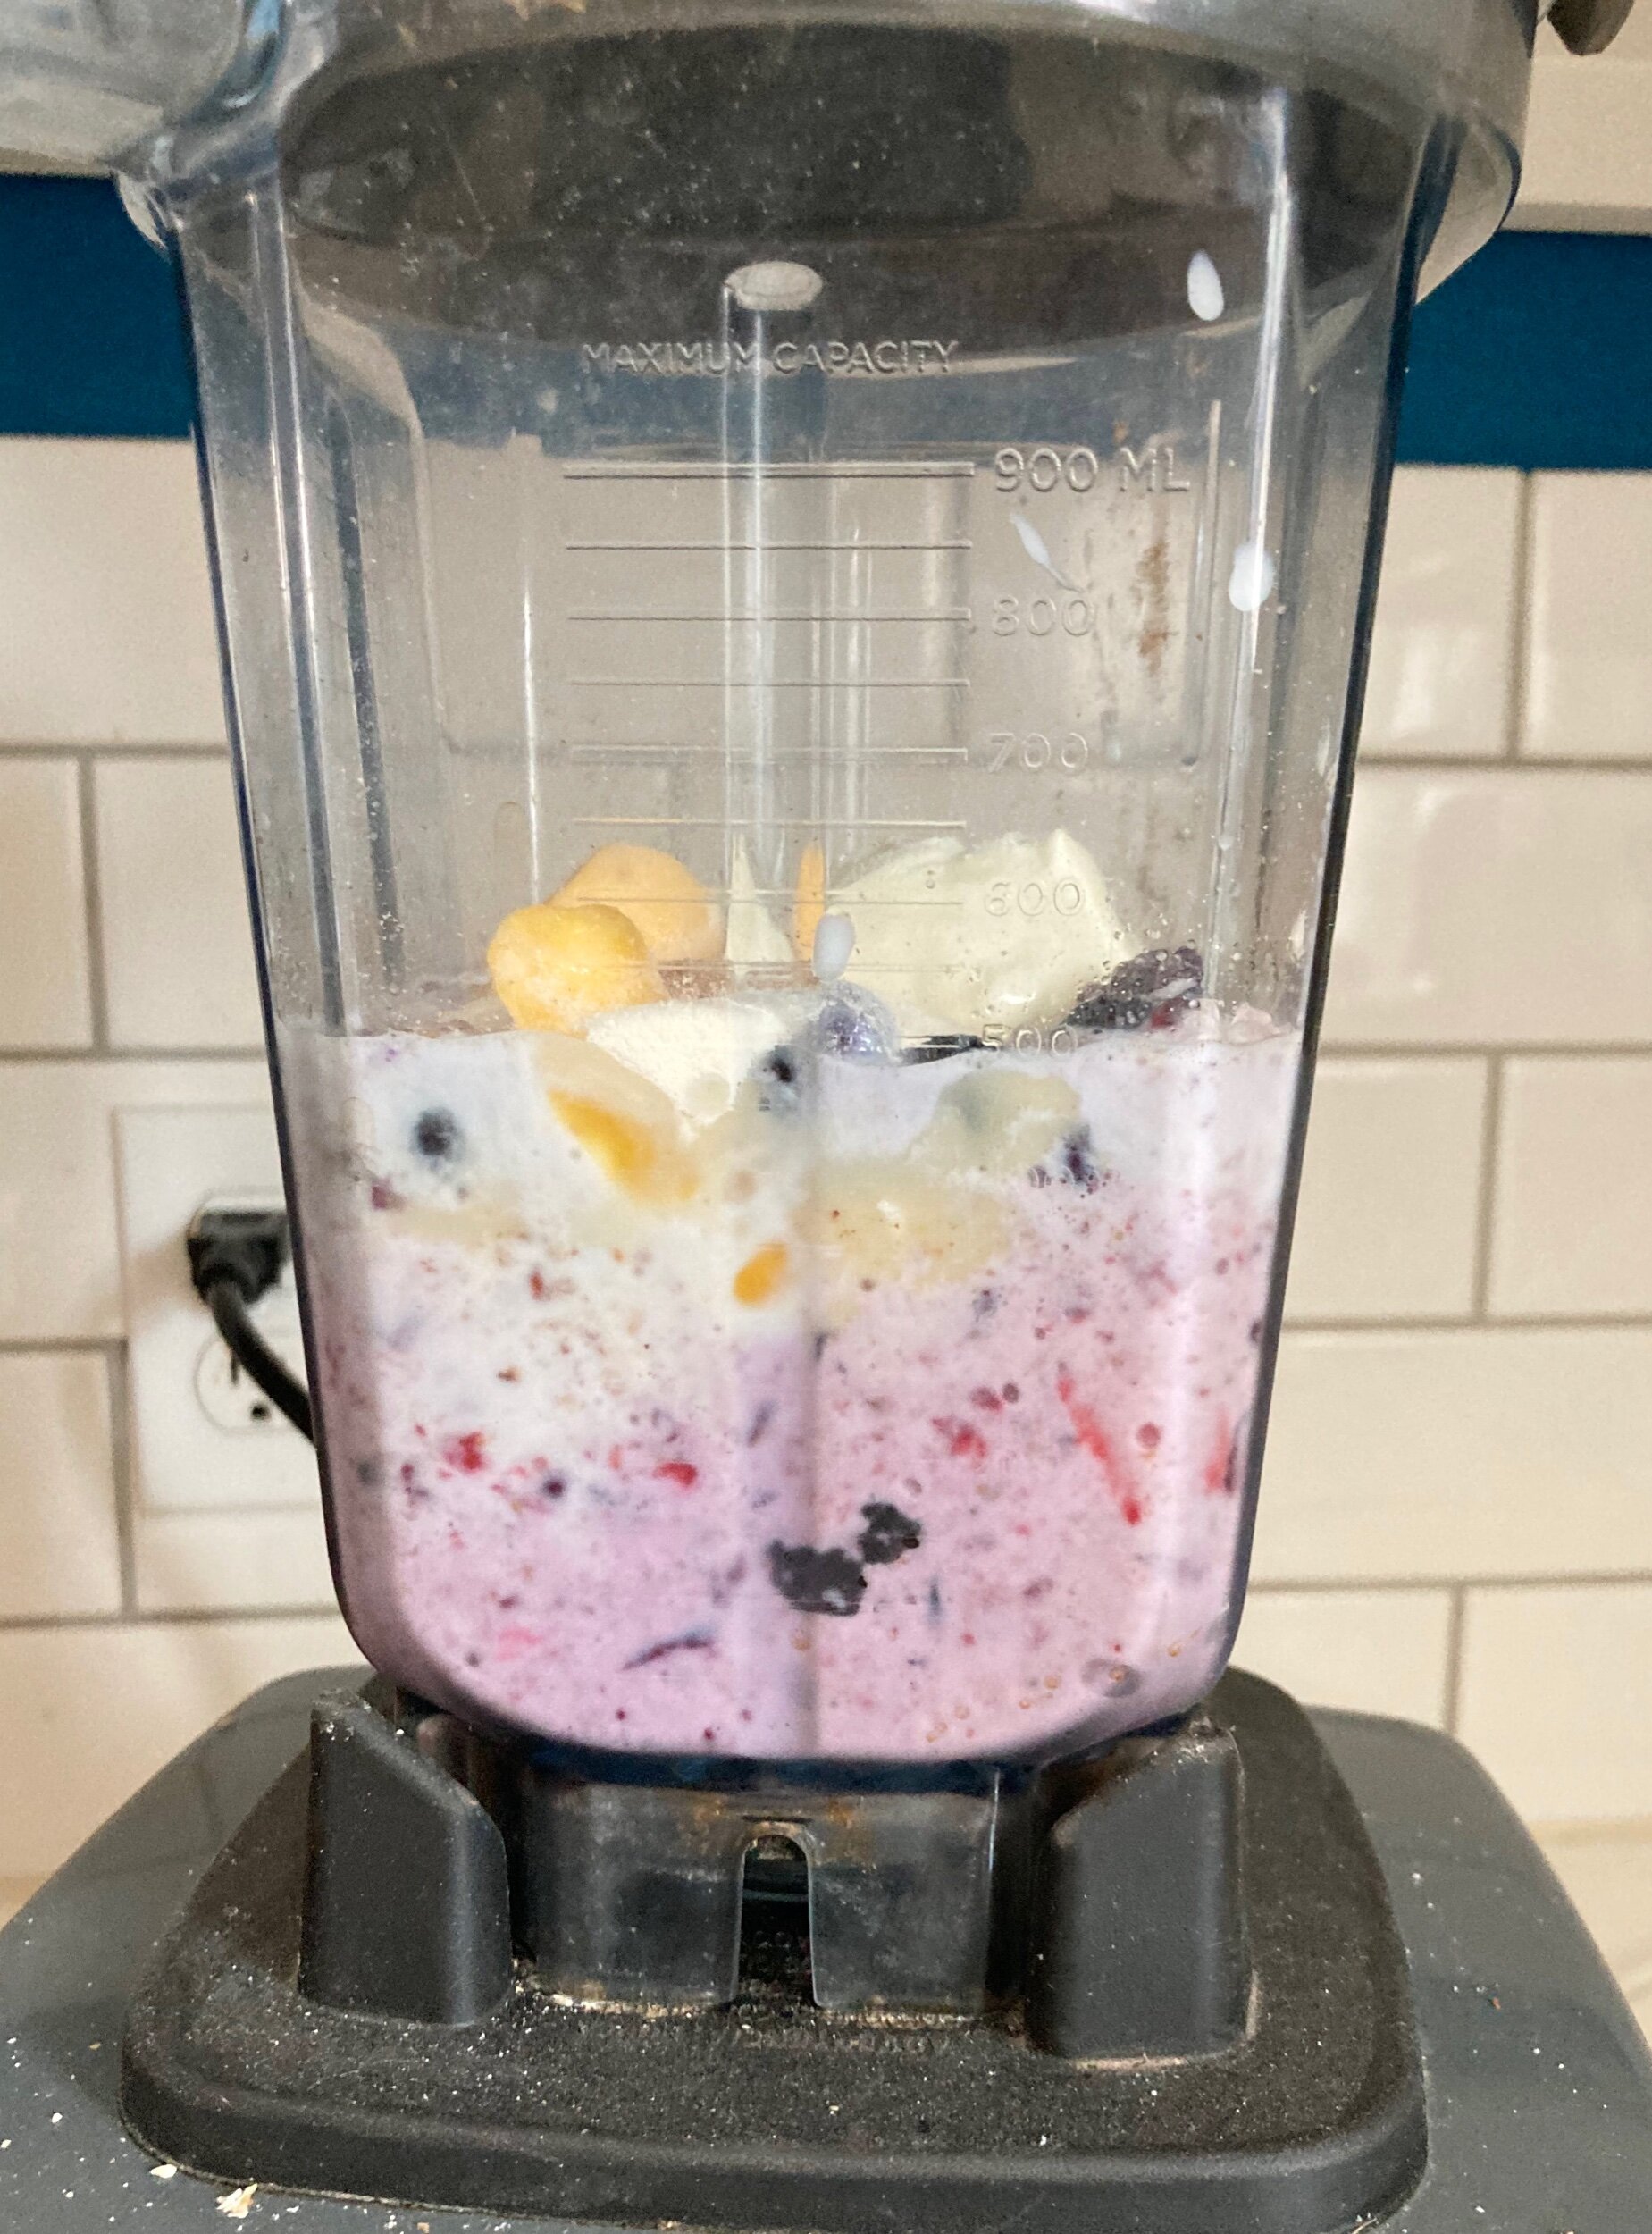
I mean, come on! Look at that creamy texture!!
Dairy has been a major source of protein for Camden throughout the past two years, because well, toddler preferences against meat and beans. 🤪 When planning out his meals, and eventually Harlow’s, I aim for a source of protein, fat, carbs, and then a fruit or vegetable. Oftentimes, I use cheese or Greek yogurt as both the protein and fat because Cam loves them. He has also been a big fan of smoothies for quite awhile. As a baby and even more so now, it’s a VERY easy and convenient way for him to get in fruits and veggies as well as some protein and fat. The smoothie recipe below is our basic recipe that you can modify for your tastes and preferences. Switch up the fruits, add frozen steamed zucchini (I know it’s weird, but it makes it nice and creamy) or frozen spinach, use peanut butter instead of almond butter, add chia or flaxseed—the possibilities are endless. We also use less milk so that it’s super thick and creamy. You can make it more runny if you prefer that. We sometimes eat this as a meal and other times share it as part of dinner or as a refreshing afternoon snack.
If you want to see Camden and I make it live, check us out on Instagram.
For more information on introducing food to little ones from birth to 24 months, check out these two helpful resources on when, how, and what to feed your child. Airplane Choo Choo and Mealtime with Your Little One
I hope you enjoy this as much as we do!

Mommy and Me Smoothie
Ingredients
- 1.5 cups frozen fruit (I use half mixed berries, half mango)
- 1 Tbsp almond butter
- 1 cup milk (I use whole milk)
- 2 Tbsp plain full fat Greek yogurt
- 1 scoop of protein powder (plain or vanilla)
Instructions
- Add all the ingredients to your blender and mix until fully combined and creamy. Add more milk if you prefer the texture to be thinner.
Notes:
If you're giving this to your little one, be aware of your child's ability to chew/swallow little seeds. If this is a concern, try frozen fruits without a lot of large/hard seeds--strawberries, mango, pineapple, peaches, banana, etc.
If you prefer sweeter smoothies, try adding a date or maple syrup.
If you want to add some veggies, a handful of frozen raw spinach or kale mixes in easily or even steamed, frozen vegetables such as sweet potato or squash!